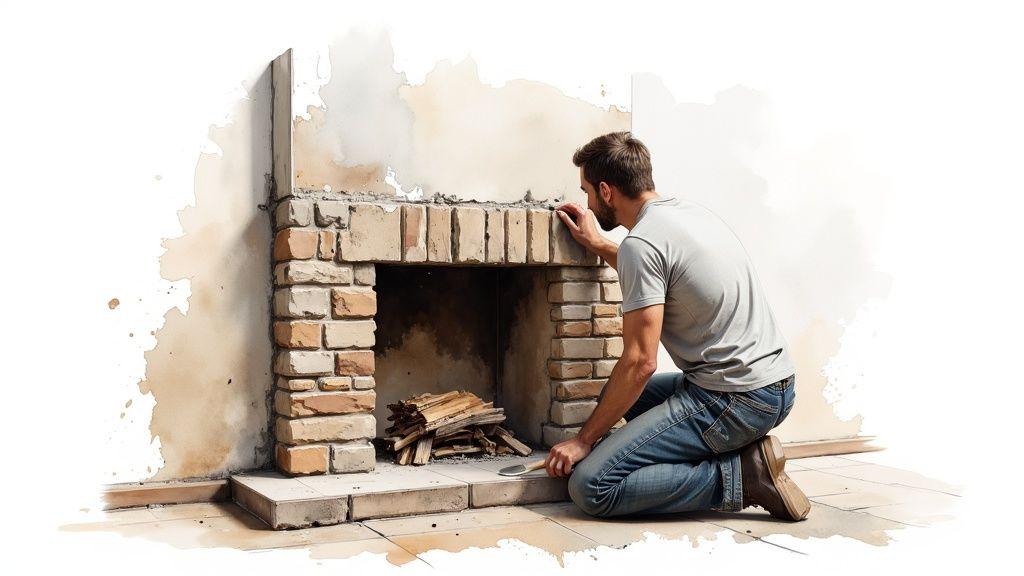
Thinking about giving your living room a major upgrade? A stone fireplace brings a kind of rugged, timeless elegance that nothing else quite matches. This isn't some far-off dream—it's a project you can tackle that adds serious character and value to your home. We're here to show you why a stone veneer fireplace is the perfect upgrade, giving you that classic beauty without the classic, eye-watering price tag.
Your Weekend Project: A Stunning Stone Fireplace
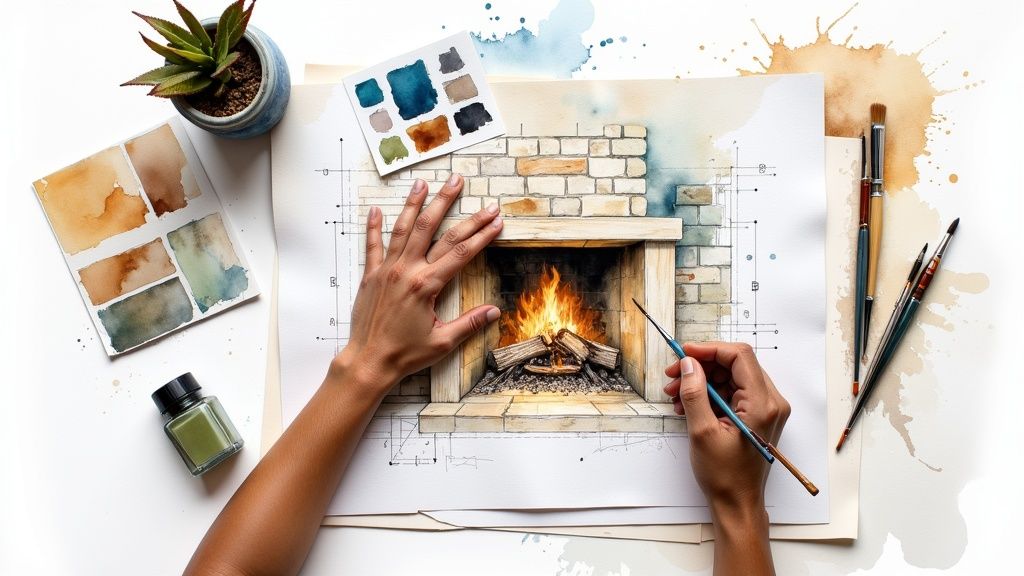
You can absolutely transform a standard, boring fireplace into a breathtaking centerpiece, and it's easier than you might think. Stone veneer gives you the authentic texture and rich color variations of natural stone, but it's engineered to be lightweight and much simpler to work with.
This makes it a fantastic choice for DIYers and pros alike because you don't need the heavy-duty structural support that solid stone demands. In this guide, we’ll walk you through the entire process, from prep work to the final touches, setting you up for a flawless finish.
Why Stone Veneer Is The Smart Choice For Your Fireplace
The appeal of stone veneer is about more than just its good looks. Homeowners are catching on to its powerful combination of benefits:
- It’s Budget-Friendly: You get the high-end look of solid quarried stone for a fraction of the cost, saving on both materials and labor.
- It's Incredibly Lightweight: Our ultra-thin Flomary stone veneer is up to 70% lighter than traditional stone. That means it’s easier to handle and you won't have to reinforce your walls to install it.
- The Design Options are Endless: Whether you're after a rustic ledgestone look or a clean, modern stacked stone, there’s a style to match any vibe you're going for.
This isn't just a niche trend; the market is booming. The global stone veneer market was valued at around USD 2.56 billion in 2024 and is expected to keep growing as more people discover its value.
This project is more than just a cosmetic fix—it’s a smart investment. Besides the immediate wow factor, it’s worth understanding the home renovation return on investment to see just how much value you're adding.
To make things as straightforward as possible, our premium Flomary Stone Veneer Kits come with everything you need. We include our incredibly realistic stones and a specially formulated adhesive, ensuring that both seasoned DIYers and ambitious first-timers can get truly remarkable results. Let's get started on creating a stunning new focal point for your home.
Choosing Your Stone and Gathering the Right Tools

This is where the fun really begins. The stone you pick and the tools you use are the foundation of your entire fireplace project. It's the moment your vision starts to become a reality, moving from an idea in your head to a concrete plan. Choosing the right stone is about more than just a color swatch; it’s about capturing a specific feel—the texture, the style, and the exact mood you want to bring into your home.
This decision sets the tone for everything that follows. And you’re not alone in wanting this look; stone veneer is more popular than ever. The U.S. market hit a value of USD 675.7 million in 2023, and it’s only expected to climb as more homeowners look for high-impact renovations. If you're curious about the numbers, you can learn more about the stone veneer market dynamics and see just how big this trend has become.
Finding Your Perfect Stone Style
Every house has its own character, and your fireplace should feel like a natural extension of that. We’ve poured a lot of thought into our collections at Flomary to make sure there's a perfect match for any aesthetic.
Take our Mountain Ledgestone collection. It’s the go-to for that cozy, rustic retreat vibe. With its rugged texture and varied depths, it looks like it was pulled straight from a mountain and hand-laid by a master mason. It’s perfect for bringing a warm, organic element into a traditional or cabin-style home.
On the other hand, if your taste is a bit more contemporary, our Modern Fieldstone collection delivers a clean, polished look. The lines are sleeker, the textures more subtle, and the overall effect is one of quiet sophistication. It’s a beautiful complement to modern and minimalist decor, with panels designed to fit together seamlessly for a high-end finish.
To help you visualize the options, here's a quick look at some of our most popular styles.
Flomary Stone Veneer Style Comparison
A quick look at our most popular stone veneer styles to help you find the perfect match for your fireplace project.
| Veneer Style | Aesthetic | Best For | Recommended Mortar Technique |
|---|---|---|---|
| Mountain Ledgestone | Rustic, rugged, natural | Creating a cozy, cabin-like atmosphere or a traditional focal point. | Over-grout or dry-stack for a more authentic, organic appearance. |
| Modern Fieldstone | Sleek, uniform, sophisticated | Minimalist, contemporary, or transitional homes needing a clean finish. | Tight-fit or light mortar joints to emphasize the stone's clean lines. |
| Classic Brick Veneer | Timeless, traditional, warm | Adding character to industrial, farmhouse, or historic-style spaces. | Standard 3/8" grout lines to replicate traditional brickwork. |
| Coastal Reef Stone | Light, airy, textured | Beach houses, modern coastal designs, or brightening up a dark room. | Light-colored mortar with a slightly messy, "over-grouted" look. |
Ultimately, the right stone is the one that speaks to you and fits the story of your home.
The Essential Tools for a Flawless Installation
Having the perfect stone is one thing, but the right tools are what will give you that professional-grade finish. Sure, you might have a basic toolbox, but a few specialized items will make the process of installing stone veneer fireplace surrounds infinitely smoother and more precise.
Think of it like cooking. You could chop an onion with a butter knife, but a sharp chef's knife does the job cleanly and efficiently. The same logic applies here.
Here’s the gear you absolutely need on hand:
- ½” Cement Board: This is your canvas. Drywall simply can't handle the weight of stone and mortar, so using cement board is a must for both safety and longevity.
- Self-Tapping Cement Board Screws: These aren't your average screws. They’re specifically designed to grip the cement board and bite firmly into the wall studs behind it, creating a rock-solid base.
- ½” x ½” Square Notch Trowel: The real magic is in the notches. This trowel carves perfect ridges into the mortar, creating suction and ensuring a powerful, even bond between the stone and the board.
- Grout Bag: Think of it like a heavy-duty pastry bag. It lets you apply grout right into the joints, keeping the faces of your beautiful new stones clean and free of smears.
- Wet Tile Saw with a Diamond Blade: Honestly, for a project like this, a wet saw is a game-changer. It makes cutting stone for those tricky spots around a mantel or outlet clean, easy, and precise.
Pro Tip: Don't skimp on safety. A good mask is essential when you're cutting cement board or mixing mortar—that dust is nasty stuff. And always, always wear safety glasses. Debris has a way of finding your eyes.
Why Our Pro Installation Kit Makes a Difference
We know that hunting down every last tool and material can be a real pain. That’s exactly why we put together the Flomary Pro Installation Kit. We’ve bundled everything you need to get the job done right, so you can stop guessing and start building.
This isn’t just a random box of tools. It’s filled with professional-grade equipment we’d use on our own projects. More importantly, it includes our proprietary Flomary Polymer-Modified Mortar.
Here's why that matters. Standard Type S mortar is fine, but our polymer-modified formula is specifically engineered for our lightweight stone veneer. It offers far superior adhesion and flexibility, which means your stones grip the wall tighter and can better withstand the small shifts and temperature swings a fireplace goes through.
Choosing our kit isn't just about convenience—it's about setting yourself up for a flawless, long-lasting finish. When you're investing in a project this important, you deserve the best materials on your side. It's the surest way to guarantee your beautiful new fireplace remains the stunning heart of your home for years to come.
Getting Your Fireplace Ready for the Perfect Bond
Think of it like cooking a great meal. You wouldn't just throw everything into a pan; the prep work—the chopping, the marinating—is what makes the final dish incredible. It's the exact same story when you're installing a stone veneer fireplace. The time you spend getting the surface ready is what separates a professional, rock-solid job from one that fails in a few years.
This isn't the most glamorous part of the project, I'll admit. But skipping these steps is the single biggest mistake I see people make. Whether you're starting with old brick, plain drywall, or a brand-new build, creating the right foundation is everything.
Building the Ideal Surface for Your Stone
Your existing wall, no matter what it is, isn't ready to hold stone veneer. You need to create a new, bulletproof surface that will grab onto the mortar and stone and never let go. This always starts with a good cleaning and making sure the underlying wall is sound.
From there, you’ll build up three critical layers that work together to form an ironclad base for your stone.
- A Moisture Barrier: This is your insurance policy. It protects your home’s framing from any moisture that might find its way behind the stone, preventing nasty surprises like mold or rot down the road.
- Metal Lath: This is a grid of galvanized steel mesh that goes on top of the moisture barrier. It acts like rebar in concrete, giving the mortar a three-dimensional structure to grip, creating a mechanical bond that's way stronger than just sticking it to a flat surface.
- A Scratch Coat: This is the first layer of mortar you'll apply over the lath. Once it sets up, it creates a rough, perfectly primed surface that the stones will bond to beautifully.
This three-layer system might sound like a lot, but we've made it simple. Our Flomary All-in-One Surface Prep Kit bundles the premium moisture barrier and galvanized lath you'll need, so you're not left guessing at the hardware store. It’s the same stuff the pros count on.
How to Prep Different Fireplace Surfaces
What you need to do depends entirely on what your fireplace is made of right now. Let's walk through the most common situations.
Drywall or Painted Surfaces
You can't install stone directly over drywall or a painted wall. Period. The surface just can't handle the weight, and the bond will eventually fail. You have to get that surface material off, right down to the wall studs.
Once you’re at the bare studs, you'll screw cement board directly to the framing. Cement board is built for this—it’s designed to handle the weight and moisture that come with any masonry project.
Choosing the right backer board is non-negotiable for a safe and stable fireplace. If you're weighing your options, you can dive into the specifics in our detailed guide on why fireproof cement board is the right choice for fireplace projects.
Unpainted Brick or Concrete Block
If you have a fireplace made of unpainted, solid brick or concrete block, you've got a head start. The job is a bit more straightforward.
First, give the whole surface a good, aggressive scrub with a stiff wire brush and some water. You need to get rid of any loose debris, soot, or that chalky white stuff called efflorescence. Let it dry completely. After that, you're clear to apply the scratch coat directly onto the clean masonry.
Applying That All-Important Scratch Coat
With your moisture barrier and lath installed (or your brick cleaned), it's time for the scratch coat. For this, you’ll want our Flomary High-Bond Mortar Mix, which is specifically formulated for the kind of adhesion and strength this job demands.
Getting the mix right is crucial. You're shooting for a thick, creamy consistency, kind of like smooth peanut butter. It needs to be firm enough to stay on your trowel without dripping all over the place, but still workable enough to spread easily.
Using a flat trowel, smear a solid ½-inch thick layer of mortar over the entire metal lath. Don’t be gentle—really push it in there to make sure the mortar oozes through the mesh, leaving no gaps or air pockets behind. Your goal is to completely encase the lath.
Once the wall is covered, grab your notched trowel. Lightly drag the notched side horizontally across the fresh mortar. This carves shallow grooves, or "scratches," into the surface—and that's where the name comes from. These little grooves massively increase the surface area, giving the next layer of mortar a perfect mechanical key to lock into.
Now, you have to let it cure for at least 24 to 48 hours. You want it to be hard to the touch but not bone-dry before you start setting stone. This prep work is what ensures your beautiful Flomary stone veneer will stay put for decades, turning your fireplace into the stunning centerpiece it’s meant to be.
Applying Stone Veneer Like a Seasoned Pro
Alright, this is where the magic happens. Your prep work is done, and now it's time to bring that vision in your head to life, one stone at a time. This part of the job is less about raw strength and more about artistry. You're a painter, but your medium is stone and mortar. The goal is to blend shapes, colors, and textures into a seamless, natural-looking fireplace that’ll have everyone asking for your mason’s phone number.
Forget the generic, one-size-fits-all instructions. I'm going to share the techniques we use in the field—the little details that separate a decent DIY job from a truly professional-looking finish. From getting that mortar consistency just right to placing each stone with intent, these are the steps that make all the difference.
When you break it down, the rhythm of stone installation is pretty simple, as you can see here.
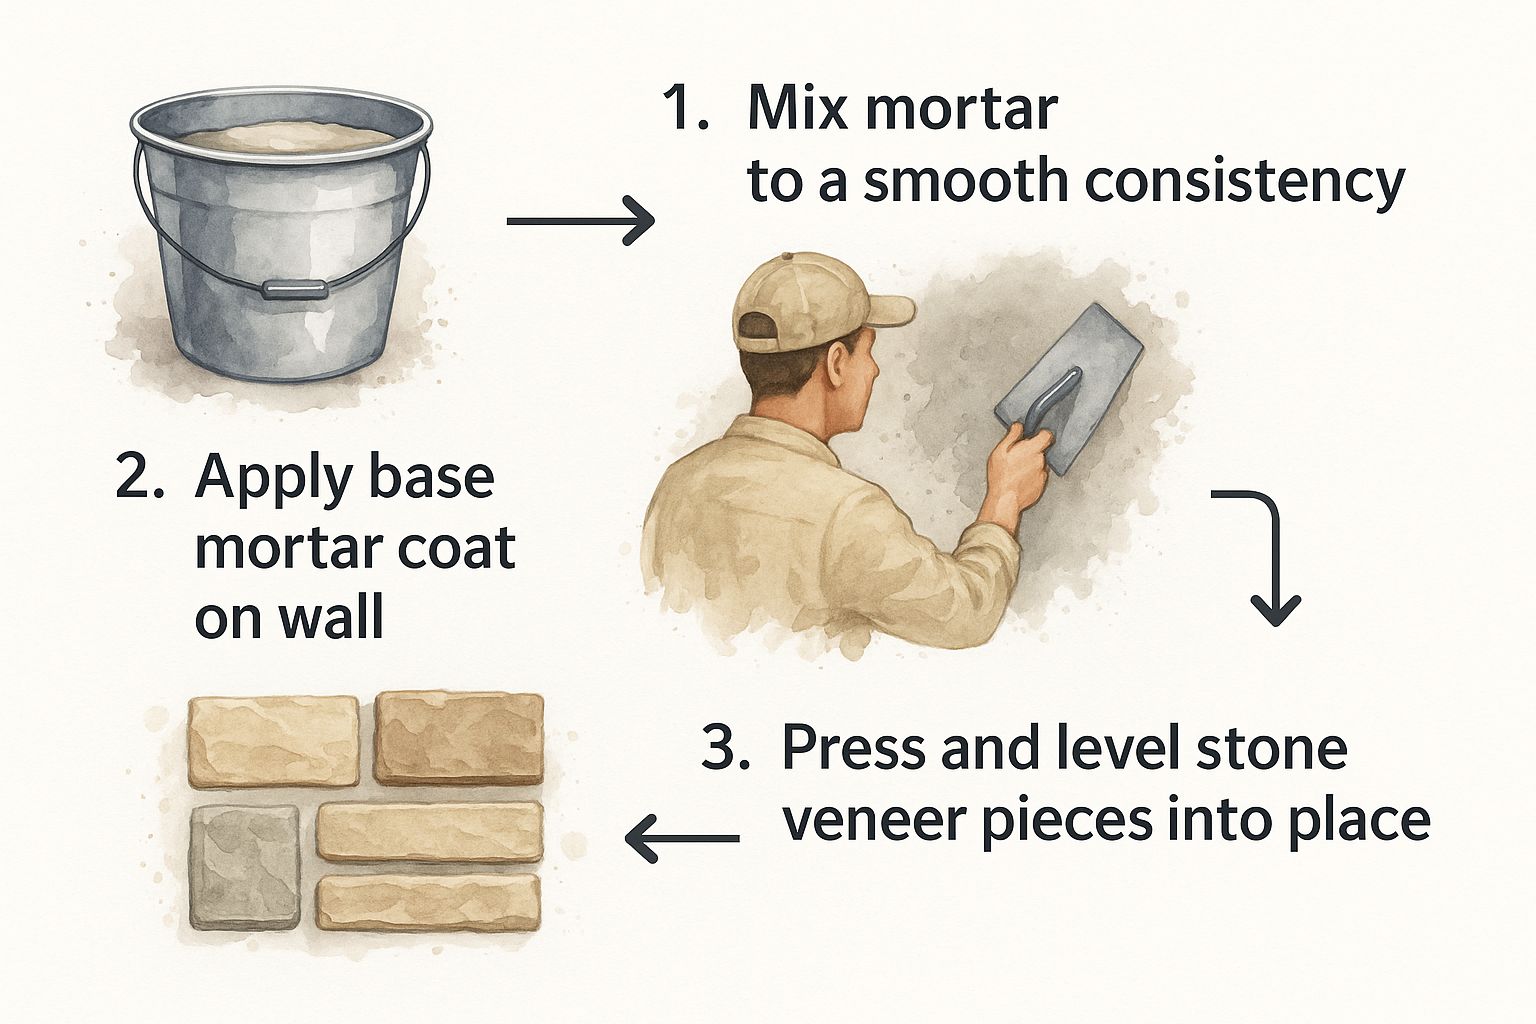
This simple flow—mix it up, slap it on, and press it in—is the core of the whole process. Get this right, and you'll get a rock-solid bond every single time.
Mixing Your Mortar to Perfection
Let's talk about the unsung hero of your project: the mortar. Get this wrong, and nothing else matters. You're aiming for a consistency like thick, creamy peanut butter. It needs to be stiff enough to hold its shape on your trowel without sliding off, but wet enough to spread easily and create a powerful suction when you set the stone.
For our Flomary Stone Veneer, we swear by our own Flomary Veneer Mortar. It’s not just some generic mix; it's a polymer-modified formula we engineered specifically for the lightweight profile of our stone. That special blend gives you superior adhesion that can easily handle the temperature changes around a fireplace.
A few tips from the trenches when you're mixing:
- Always add water to the dry mix, not the other way around. Trust me, it prevents those stubborn dry clumps from hiding at the bottom of your bucket.
- Only mix as much as you can realistically use in about an hour. Once mortar starts to set, it loses its workability and its bond strength plummets. Don't try to "re-wet" it—just mix a fresh batch.
- After the initial mix, let the mortar "slake" (just a fancy word for rest) for 5-10 minutes. Give it one final stir, and you're good to go. This short rest lets the polymers fully activate for maximum stickiness.
The Art of Buttering and Setting Stones
"Buttering" a stone is just what it sounds like: you're slathering mortar on the back. Use your trowel to apply a generous, even layer about a ½-inch thick across the entire back of the stone. Make sure you cover it edge to edge.
Once it's buttered, press it firmly onto your scratch coat. Now, here's the key: give it a slight back-and-forth wiggle. This collapses the mortar ridges, squeezes out any air pockets, and creates that critical suction. You should see a little bit of mortar ooze out around the edges. That’s your signal that you've got a perfect bond.
Here's a pro tip that will save you a lot of headaches: always start with your corner pieces. These specially made L-shaped stones wrap around the outside edges of your fireplace, immediately establishing the depth and framework. Once your corners are set, you can start filling in the flat sections between them, always working from the bottom up.
This bottom-up approach is non-negotiable. It provides stability, letting each new row rest on the one below it and preventing any frustrating sliding while the mortar cures.
Creating a Natural, Aesthetically Pleasing Layout
The true mark of a pro job is a layout that looks completely natural and random. You shouldn't see any obvious patterns. This is where our Flomary Stone Veneer gives you a huge advantage. Our molds are designed to produce a wide variety of shapes and textures, making it much easier to avoid that repetitive, stamped look.
There's a reason manufactured stone veneer is so popular. It offers the timeless beauty of natural stone but with way more versatility, which is why the market is projected to hit USD 4.5 billion by 2032. It's the perfect solution for interior projects like fireplaces where you can't add a ton of extra weight.
To nail that authentic look, keep these principles in mind:
- Mix It Up: Before you even touch mortar, open a few different boxes and lay out a good selection of stones on the floor. This lets you get a feel for the color and size variations, helping you avoid clumping similar pieces together on the wall.
- Vary Joint Sizes: A real stone wall never has perfectly uniform grout lines. Aim for an average joint width of about ½ inch, but don't be afraid to go a little tighter or wider in places. That imperfection is what makes it look perfect.
- Stagger Your Stones: This is crucial. Never let the vertical joints between stones line up from one row to the next. Think like a bricklayer—each stone should bridge the joint of the two stones beneath it.
Custom Fitting Stones for a Perfect Finish
You're going to have to cut some stones. It's just part of the process, especially when fitting them around the firebox opening, mantel, or outlets. A wet saw with a diamond blade is the right tool for the job. It gives you clean, precise cuts without chipping the face of the stone.
After you make a cut, the edge can look a bit too clean and unnatural. An old mason's trick is to take a hammer or even another piece of stone and gently chip away at that cut edge. This distresses it just enough to create a rugged, natural profile that blends right in. For a full tutorial on getting the perfect cut every time, check out our guide on the best way to cut stone veneer.
Take your time with these final details. By focusing on these professional techniques, you're not just doing a DIY project—you're crafting a stunning, durable centerpiece for your home. Your friends and family won't believe you did it yourself.
Finishing Your Fireplace with Grout and Sealer
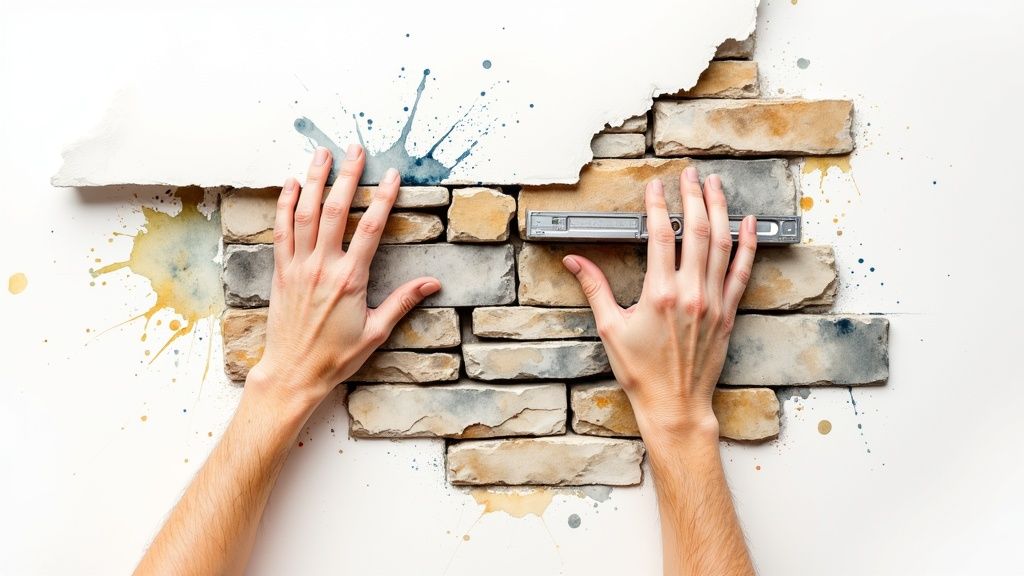
You’ve set the last stone, and it’s a huge milestone. Your fireplace already looks incredible. But now comes the part that separates a good job from a truly professional one. Grouting and sealing are the final touches that really define the look, add that polished finish, and protect your hard work for years to come.
Don't rush this stage. It’s a common mistake that can undermine everything you’ve done so far. Think of the grout as the frame for your artwork—it can either make the stone pop or cause it to get lost. At the same time, a good sealer acts as an invisible shield, protecting the stone’s color and texture from soot and moisture.
Choosing the Perfect Grout Color
This is where you really get to influence the final personality of your fireplace. The grout color you pick will either make each stone stand out or blend everything into a more unified texture. With our Flomary Grout Color Palette, you have the flexibility to dial in the exact look you’re after.
You can go in a couple of different directions here:
- For a Contrasting Look: Picking a lighter grout for darker stones (or vice versa) creates a bold, traditional masonry feel. It really makes each stone’s unique shape and texture the star of the show.
- For a Complementary Look: If you select a grout color that closely matches the tones in your stone, you’ll get a much more subtle, monolithic appearance. This is a fantastic choice if you're aiming for a modern, seamless design.
Here’s a pro tip: Always mix a small test batch of your chosen grout and apply it to a few leftover stones. Let it dry completely. Grout often lightens as it cures, so this little test is the only way to get a true preview of the final color.
Grouting Techniques for a Clean Finish
After letting the stone set for at least 48 hours, you're ready to grout. The name of the game is filling the joints completely without smearing mortar all over the face of your beautiful stone. Your best friend for this job is a grout bag.
You'll want to mix your grout to a thick, toothpaste-like consistency. It should be firm enough to hold its shape but still pliable enough to squeeze through the bag.
First, scoop the grout into the bag until it’s about halfway full, then twist the top to build up pressure. Cut the tip of the bag to create an opening just a bit smaller than your average joint width. Now you can squeeze the grout deep into the joints, overfilling them just slightly.
Let the grout set for about 15-30 minutes. You're waiting for it to become "thumbprint hard"—firm to the touch but not fully cured. Use a jointing tool or even a small piece of wood to press and smooth the grout lines. This compacts the grout and creates that clean, uniform profile you see in professional work.
And what if you get some grout on the stone face? Whatever you do, do not wipe it while it's wet. This will only smear it and cause a stain that’s tough to remove. Wait until it has hardened a bit, then simply flick it off with a stiff-bristled brush.
Seeing how experts handle different materials can be really insightful. For other home projects, you might find it interesting to check out how professional tile grout services approach their work.
Protecting Your Investment with the Right Sealer
The final, non-negotiable step is sealing. This is what protects your beautiful work from the realities of a functioning fireplace—soot, smoke, and the occasional bit of moisture.
A good sealer prevents stains from seeping into the porous surfaces of the stone and grout, which makes future cleanup as simple as wiping with a damp cloth. It also helps lock in the rich, natural colors of the stone, keeping them from fading over time.
For this critical final touch, we developed our Flomary Matte-Finish Stone Sealer. Unlike glossy sealants that can create an artificial "wet" look, our formula is a breathable, penetrating sealer. It soaks into the stone and grout to protect from within, subtly enhancing the natural color and texture without adding any shine. This preserves the authentic beauty you worked so hard to achieve.
For a deeper dive into why this step is so important, check out our guide on sealing stone veneer.
Make sure your grout has fully cured for at least 72 hours before you begin. Then, apply one or two even coats with a brush or sprayer. That’s all it takes to ensure your stunning new fireplace remains a beautiful centerpiece in your home for decades.
Your Top Stone Veneer Questions, Answered
Even with the best game plan, questions always come up in the middle of a project. I've been there. Let's walk through some of the most common hurdles people face when installing stone veneer fireplace surrounds so you can tackle this job with total confidence.
Can I Put Stone Veneer Directly Over My Old Brick Fireplace?
Absolutely! This is one of the biggest perks of using veneer, and it saves a ton of demo work.
The key, though, is the condition of your existing brick. It needs to be structurally sound—no crumbling or loose bricks—and completely clean. We're talking free of dust, soot, and especially any old paint or that white, chalky stuff called efflorescence.
For a bulletproof installation, I always recommend putting a scratch coat of Flomary High-Bond Mortar right on the brick. This gives the veneer a perfect, grippy surface to bond to for the long haul. Just remember, if your brick has paint on it, the paint has to go. Mortar and paint don't mix, so you'll need to strip or sandblast it first.
How Do I Figure Out How Much Stone I Need?
Getting your material estimate right from the start is a game-changer. It’s actually pretty simple. Measure the height and width of each area you plan to cover, multiply them to get the square footage, and add them all up. Don't forget to measure your firebox opening and subtract that from your total.
Here’s a pro tip: Always add an extra 10% to your final number. This buffer is your best friend—it covers you for cuts, the occasional broken piece, or a minor miscalculation. Trust me, running out of stone mid-project is a headache you don't want.
To take the guesswork out of it, our product pages for Flomary Stone Veneer have a handy calculator built right in. It'll do all the math for you.
What’s the Real Difference Between Natural and Manufactured Stone?
This is probably the most frequent question I get. Natural stone is the real deal, quarried from the earth and sliced thin. It's gorgeous, but it's also heavy and usually carries a heavier price tag.
Manufactured stone, like the products we make at Flomary, is engineered for this exact application. We use a concrete-based mix and pour it into molds cast from beautiful, hand-picked natural stones. This process captures every crack, crevice, and color variation, so it looks incredibly authentic.
The big advantages?
- It's much lighter, so you don’t need to add extra structural support to your wall.
- It’s more cost-effective.
- The consistency of the pieces makes it far easier and faster for a DIYer to install.
Ready to kick off that fireplace makeover? The team at Flomary Group is on standby to help you find the perfect stone and answer any other questions you have.
Start exploring our collections and bring your design to life at https://flomary.cn.
