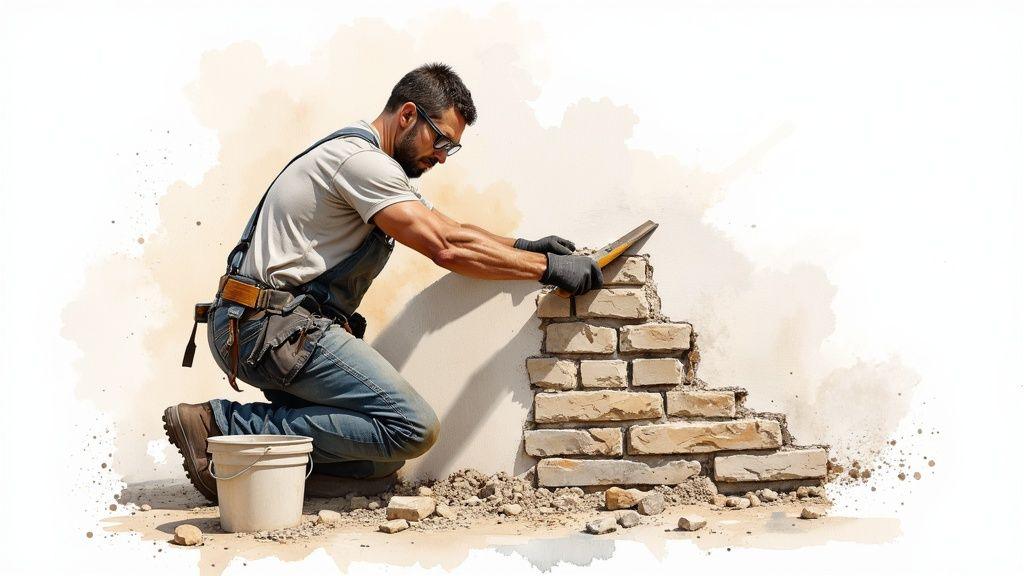
Thinking about giving your home's exterior a serious upgrade? Installing stone veneer is one of the most dramatic ways to boost curb appeal and add real value. The process is straightforward when you break it down: prep the wall, add a moisture barrier and lath, apply a scratch coat of mortar, and then start setting the stone. A little grout and sealant at the end, and you're done.
Why Stone Veneer Is Your Best Exterior Upgrade
Before we get our hands dirty with the how-to, let's talk about why this is such a fantastic choice. This isn't just about slapping a new coat of paint on; it's a strategic move that pays off in looks, durability, and your home's long-term worth.
Think about it. You could trade that tired, plain siding for the rugged, natural texture of our Mountain Ledge series. Or maybe the clean, sophisticated lines of our Classic Cut collection are more your style. Either way, the change is instant and incredible. You get the timeless beauty of natural stone without the back-breaking weight or the eye-watering installation costs.
A Smart Investment in Your Property
Let's be honest, everyone loves the look of stone. Adding it to your home's exterior is one of the smartest investments you can make, delivering a massive return on investment. It’s a feature that makes potential buyers sit up and take notice, so you're not just making your home better for yourself—you're making it more valuable down the road.
This isn't just a trend; it's a fundamental shift in home design. The global stone veneer market was valued at around USD 1.5 billion and is expected to hit USD 2.7 billion by 2033. That growth is all about the high demand for beautiful, tough exterior materials. You can discover more insights about the stone veneer market to see just how popular it's become.
Engineered for Lasting Performance
Our manufactured stone veneer is specifically engineered to handle whatever Mother Nature throws at it. We designed it for exceptional durability and weather resistance, so you can be confident your stunning new exterior is built to last.
Here’s what really makes our products stand out from the crowd:
- Lightweight Construction: Our panels are up to 70% lighter than traditional stone. This makes a huge difference, reducing the load on your home's structure and making the installation process faster and less expensive.
- Freeze-Thaw Resistance: We've formulated our veneer to withstand brutal temperature swings. That means no cracking or spalling, which is a common headache with other materials in cold climates.
- Moisture and UV Protection: Our products are naturally resistant to water damage and won't fade under relentless sun exposure, keeping your home looking sharp for decades to come.
Picking the right material is half the battle. When you choose an engineered product like ours, you're getting the best of both worlds: the authentic look and feel of real stone, plus the modern performance benefits that protect your home and your investment.
This blend of timeless style and advanced engineering makes stone veneer a complete upgrade. It delivers on every front, giving you a tough, valuable, and gorgeous exterior that will stand the test of time.
Gathering Your Tools and Pro-Grade Materials
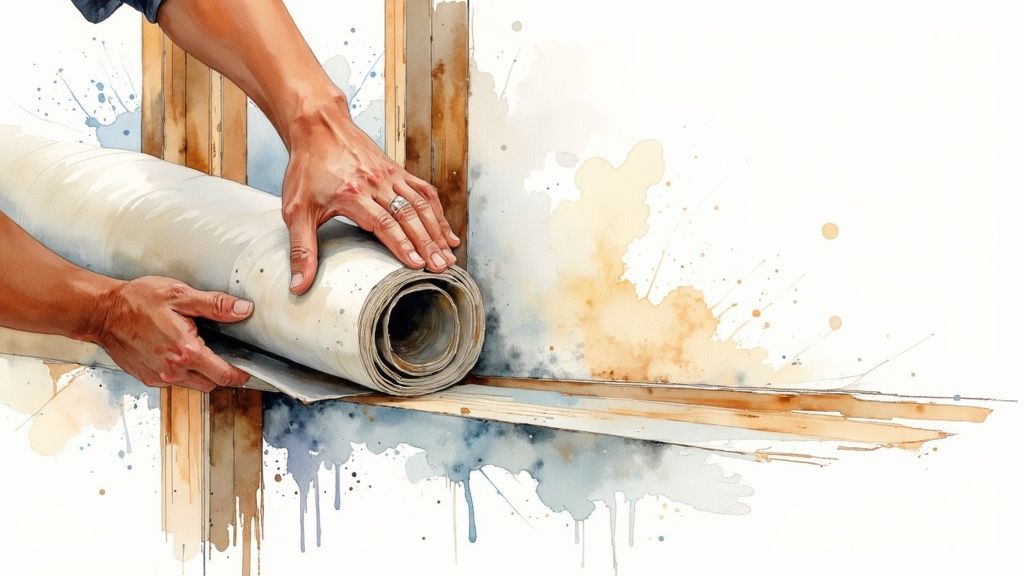
Any seasoned pro will tell you that a project is won or lost before you even lay the first stone. Having every single tool and material ready to go is the secret to a smooth, headache-free installation. This is more than just about saving you a last-minute trip to the hardware store; it’s about making sure every component works together as a system for a beautiful, long-lasting finish.
Think of it this way: you wouldn't try to bake a gourmet cake with cheap, mismatched ingredients. The same logic applies to exterior stone veneer. Cutting corners with generic, off-the-shelf products can lead to a weak bond, moisture problems down the road, and a final look that just doesn't hold up.
The Core System for a Rock-Solid Job
If there are two areas you absolutely cannot skimp on, it’s your moisture barrier and your mortar. These form the very heart of your installation. A standard mortar mix simply doesn't have the muscle or the flexibility required for a vertical application that’s going to be battered by the elements year after year.
That's precisely why we formulated StoneGrip, our own polymer-modified mortar. It’s engineered to create an incredibly stubborn bond, securing our veneer against the shear forces and temperature swings that cause lesser mortars to crack and fail. When you pair it with our WeatherGuard moisture barrier, you're essentially creating an impenetrable shield for your home. This system is your first and most important line of defense against water damage.
Must-Have Tools for a Flawless Finish
Beyond the materials themselves, a handful of specific tools can make the difference between a project that looks DIY and one that looks like a professional crew did it. You don't need a massive workshop, but these items are non-negotiable.
- Notched Trowel: A 1/2-inch square-notched trowel is the only way to get a consistent, perfect amount of StoneGrip mortar on the wall and on the back of each stone. It’s all about creating those suction-cup-like ridges.
- Grout Bag: This is your best friend for clean grout lines. It works just like a baker's piping bag, letting you push grout deep into the joints without smearing it all over the beautiful stone faces.
- Masonry Hammer & Chisel: Invaluable. You'll use these constantly for knocking off a sharp corner or creating a more natural, broken edge on a piece that needs a little finessing.
- Angle Grinder with a Diamond Blade: This is the go-to for making those clean, precise cuts you'll need around windows, outlets, and tricky rooflines. Getting comfortable with one is a key skill. For pro tips, check out our guide on the best way to cut stone veneer.
- Level and Chalk Line: Don't even think about eyeballing it. These are essential for snapping straight, perfectly horizontal lines to guide your courses. This is what gives the final project that polished, professional look.
Your tool selection is just as important as your material choice. Investing in quality tools not only makes the job easier but also contributes directly to the precision and quality of the final installation.
Your Complete Project Checklist
To make sure you're truly ready to hit the ground running, we’ve put together a comprehensive checklist. This covers everything from the foundational layers to the final seal. Having it all on hand from the very beginning lets you stay in the zone and focus on quality work.
We've organized a table below that lists every tool and material you'll need. We've also included our recommended products—the very system we designed to work together for guaranteed results.
Your Project Checklist with Our Recommended Products
| Category | Item | Our Recommended Product/Specification |
|---|---|---|
| Substrate & Barrier | Moisture Barrier | WeatherGuard Moisture Barrier |
| Metal Lath | 2.5 lb/sq yd Diamond Mesh Lath | |
| Fasteners | 1-inch Galvanized Roofing Nails or Screws | |
| Mortar & Grout | Mortar | StoneGrip Polymer-Modified Mortar |
| Grout | StoneFill Grout (Color-matched to veneer) | |
| Finishing | Sealant | ArmorSeal Breathable Masonry Sealer |
| Tools | Mixing | 5-Gallon Buckets, Mixing Paddle for Drill |
| Application | 1/2" Notched Trowel, Finishing Trowel, Grout Bag | |
| Cutting & Shaping | Angle Grinder with Diamond Blade, Mason's Hammer | |
| Safety Gear | Personal Protection | Safety Glasses, Dust Mask, Work Gloves |
With this list in hand, you’re not just prepared—you’re set up for a successful project that will look fantastic and protect your home for decades to come.
Getting Your Exterior Wall Prepped the Right Way
If there’s one piece of advice I can give you, it’s this: don't rush the prep work. This is, without a doubt, the most critical part of any stone veneer project. It’s not the exciting part, I get it. But this behind-the-scenes effort is what ensures your beautiful new stone exterior stands up to the weather and looks fantastic for decades.
Cutting corners here is a recipe for disaster. This whole stage is about building a completely waterproof, solid foundation for the stone. Whether your wall is wood sheathing, concrete, or block, the goal is the same: create a clean, stable surface that water can't penetrate.
Cleaning and Repairing the Wall Surface
First things first, you need to give that wall a thorough inspection. The surface you're working with has to be clean, dry, and structurally sound. If you're going over wood sheathing, check for any soft spots or signs of rot. For concrete or block walls, look for crumbling areas, big cracks, or any flaking paint that could prevent a good bond.
Get a stiff brush or a power washer and scrub off every bit of dirt, dust, and grime. Any serious cracks in concrete need to be patched up with a quality repair compound and given plenty of time to cure. Remember, the mortar you apply is only as strong as the surface it’s stuck to.
A quick word of caution: when working on older homes, you might uncover some nasty stuff. It's crucial to know what you're looking at and how to handle it safely. This guide, Finding Asbestos Removal Near Me: A Homeowner's Guide, is a great resource for spotting and dealing with hazardous materials.
Installing Your Weatherproof Shield
With a clean slate, your next job is to build an impenetrable moisture barrier. Water is public enemy number one for exterior walls. If it sneaks in behind your stone, you're looking at mold, rot, and—especially in cold climates—total failure when the freeze-thaw cycle kicks in.
This is where a product like our WeatherGuard moisture barrier really shines. It's an asphalt-saturated building paper designed specifically to create that continuous waterproof membrane you need.
- Start from the bottom and work up. Always begin laying the WeatherGuard barrier at the base of the wall.
- Overlap properly. Each new row needs to overlap the one below it by at least 2 inches. Think of it like shingles on a roof—it forces any water to run down and out.
- Seal every single seam. Any vertical seams need a generous overlap of at least 6 inches. Use good construction tape to seal everything up tight—seams, corners, and around any openings.
Don't forget the flashing! It's a key part of your water management system, directing rain away from tricky spots like windows and doors. Skipping this step can ruin all your hard work. We cover this in more detail in our guide on stone veneer flashing details.
Installing the Metal Lath
Once your moisture barrier is on, it's time for the metal lath. This wire mesh is the skeleton that the mortar will grab onto, creating a powerful mechanical bond that holds everything together. For any exterior job, I always recommend a heavy-duty 2.5 lb/sq yd galvanized diamond mesh lath. It's worth it.
How you install this lath is absolutely critical for the wall's integrity. Pay close attention here.
First, check the orientation. The lath isn't symmetrical; it has tiny "cups" designed to hold the mortar. You have to install it so these cups face up and away from the wall. An easy trick: run your hand down the lath. It should feel rough. If you run your hand up, it should feel smooth.
Next, get your fastening pattern right. Use 1-inch galvanized roofing nails or screws with washers, making sure they hit the wall studs. You'll want a fastener every 6-7 inches vertically down each stud. Pull the lath tight as you go—no sagging.
When you add a new sheet, overlap it with the last one. Just like with the barrier paper, you need to overlap all your seams, both horizontally and vertically, by at least 1 inch. A few twists of tie wire will hold them together nicely.
Finally, wrap your corners. On outside corners, bend the lath and wrap it continuously around the corner by at least 16 inches. For inside corners, it's better to cut the lath and press it snugly into the corner, still ensuring a solid overlap.
With that, your prep work is done. You've built a waterproof, rock-solid foundation that’s ready to hold your stone veneer for a lifetime.
Applying Your Mortar and Scratch Coat Like a Mason
Alright, your wall is prepped and ready to go. Now comes the part that really separates a DIY job from a professional one: laying down the mortar and scratch coat. This isn't just slapping some cement on the wall; it's about creating an unbreakable bond that will hold your stone veneer for decades. Get this right, and you're golden.
The right mortar is everything. Seriously. A standard mix just won't cut it for a vertical exterior wall—it lacks the grip and flexibility needed to handle the elements. That's exactly why we engineered StoneGrip polymer-modified mortar. This isn't your granddad's mortar mix. Its specialized formula creates a bond that’s dramatically stronger and more resilient, easily handling temperature swings without failing.
Mixing StoneGrip Mortar to Perfection
So, what's the secret to a perfect mix? Think creamy peanut butter. That's the consistency you're aiming for. Too watery, and it'll sag right off the wall. Too thick, and it won't bond properly.
Here’s how I get a perfect batch every time:
- Water First: Always start by pouring about three-quarters of the recommended water into a clean 5-gallon bucket.
- Add Powder Slowly: Begin adding the StoneGrip powder while running a paddle mixer on a low-speed drill. This is the key to avoiding clumps.
- Dial It In: Add the last bit of water slowly until you hit that perfect, lump-free consistency. It should cling to your trowel without sliding off.
- Let It Slake: This is a step people often skip. Once mixed, let the mortar rest for 5-10 minutes. This pause gives the polymers time to fully activate. Give it one final, quick spin before you start troweling.
Applying the Scratch Coat with Pro Technique
With your mortar ready, it's time to apply the scratch coat. This is the foundational layer that your stone will actually stick to. Your goal is a consistent 1/2-inch thick layer, making sure the metal lath is completely buried in the mortar.
Using a flat trowel, apply the mortar with firm, upward strokes. You need to press hard enough to really push the StoneGrip through the openings in the lath. This is what creates that powerful mechanical lock you're after. Don’t obsess over making it perfectly smooth yet—focus on getting that uniform thickness.
Once the wall is covered, grab a scarifier or a notched trowel to create the "scratch." Lightly rake horizontal grooves across the wet mortar. These lines create a rough, textured surface, giving the back of the stone thousands of little ledges to grab onto for an even stronger hold.
This is the process in a nutshell.
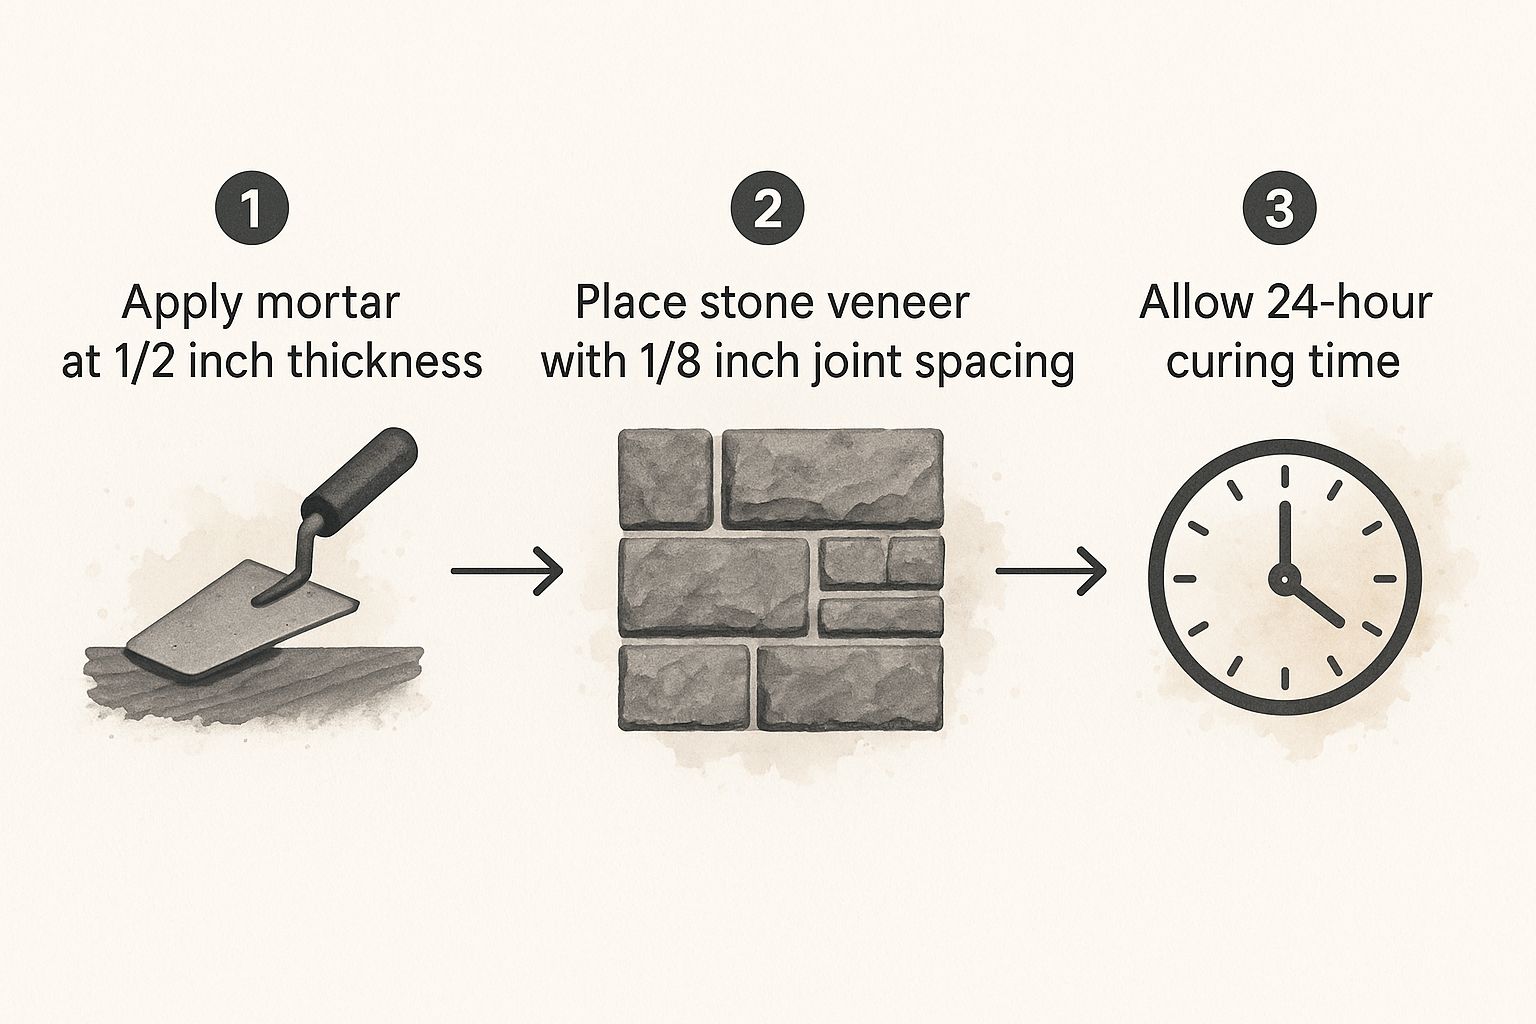
As you can see, it all comes down to the right thickness, proper stone placement, and giving it enough time to cure.
The Critical Curing Period
After you’ve scratched the surface, the most important thing you can do is walk away. Let it cure. This is a chemical process, not just a matter of drying out, and you absolutely cannot rush it.
Patience here isn't just a virtue; it's a structural requirement. Slapping stone onto a wet scratch coat is a recipe for failure. The bond will be weak, and you'll be redoing the job sooner rather than later.
Give the scratch coat a minimum of 24 hours to cure. If it’s cool or humid outside, you might need to wait up to 48 hours. You’ll know it’s ready when it’s hard to the touch and doesn't feel damp. This wait ensures your foundation is rock-solid and ready to support the weight of the stone for years to come.
Setting the Stone for a Natural, Stunning Look
This is the moment when all your hard work starts to pay off. The prep is done, the scratch coat is ready, and you finally get to see your vision take shape on the wall. This is where engineered stone veneer really comes into its own, giving you the creative freedom to craft a look that's completely unique.
The real secret to a stunning, professional-grade finish isn't about speed. It's about patience. The most breathtaking results come from carefully planning your layout before a single stone touches the wall. This is how you avoid those unnatural, repetitive patterns and create a finish that looks like it was laid by a master stonemason.
The Art of the Dry-Fit
Before you even think about mixing mortar, lay out several boxes of your veneer on a tarp. This is called a dry-fit, and honestly, it’s the most critical step for getting that jaw-dropping, authentic look.
Spreading the pieces out on the ground gives you a bird's-eye view of your inventory. You get to play with the different sizes, shapes, and color tones, blending them together until the pattern feels just right. This is your one chance to break up any clusters of similar stones or avoid those tell-tale repeating lines that instantly signal "manufactured."
Here’s what you should be focusing on during your dry-fit:
- Vary the Sizes: Mix large, medium, and small stones across the entire layout. Don’t group all the big ones in one spot.
- Mix the Colors: Be sure to pull stones from several different boxes at once. This ensures a natural, random distribution of color.
- Stagger the Joints: This is huge. Never let your vertical grout lines stack on top of each other. You're aiming for a random pattern that flows naturally.
- Flip and Turn: Don't be afraid to rotate each piece. Sometimes the best side isn't the one facing up. Treat it like a puzzle.
Taking the time for this step gives you a complete roadmap. It’s the difference between a project that looks "pretty good" and one that stops people in their tracks.
Back-Buttering for an Unbreakable Bond
Once you’re happy with the layout, it's time to get the stones on the wall. The technique for a bond that will last a lifetime is called back-buttering. This simply means you’re applying a healthy layer of our StoneGrip mortar to the entire back of each stone before pressing it onto the mortared wall.
Using your trowel, slather about a 1/2-inch layer of StoneGrip onto the back of a stone, making sure you have full coverage right out to the edges. This is non-negotiable. It eliminates any hollow spots where water could collect, which is especially important in climates with freeze-thaw cycles.
With the stone buttered, press it firmly into the scratch coat with a slight side-to-side wiggle. That little motion is key—it collapses the mortar ridges, creates powerful suction, and pushes out any trapped air. You’ll know you’ve done it right when you see a little mortar squeeze out around the edges. That's the sign of a solid, void-free bond.
A rookie mistake is to "spot-mortar" by putting just a few dabs of mortar on the stone. This creates a dangerously weak bond and leaves voids that will compromise the entire installation. Full coverage with StoneGrip is the only way to do it right.
Starting Strong and Making Cuts
Always, always start your installation at the bottom corners and work your way up and across. This gives the rows above a solid foundation to rest on. Set your corner pieces first to establish crisp, clean lines that will guide the rest of your work.
Try to keep your grout lines fairly consistent. A 1/2-inch joint is a great target, but feel free to adjust it slightly to suit the look you're after. You can use small stone chips or wedges as temporary shims to hold stones perfectly in place and maintain that spacing as you move up the wall.
Eventually, you'll need to cut a piece to fit perfectly around a window, outlet, or roofline. This is another area where our manufactured stone is a game-changer. Unlike incredibly dense natural stone, our veneer cuts easily with a standard angle grinder fitted with a masonry or diamond blade. This makes detailed work far less intimidating for a first-timer.
This entire system, from prep to setting the final stone, is a proven method used by professionals to guarantee a beautiful, weather-tight finish. This systematic approach is also a big reason stone veneer is such a smart choice financially, with projects often saving 25-40% in labor and materials over full-thickness natural stone. You can dive deeper into the numbers and read the full research about stone veneer market trends to see for yourself.
Finishing Touches: Grouting and Sealing Your Work
You've done the hard part. The stone is on the wall, and it already looks incredible. But don't pop the cork just yet—the final 10% of the job is what truly separates a decent project from a professional masterpiece.
Grouting and sealing aren't just cosmetic afterthoughts. They're what lock everything together, creating a unified, weather-resistant facade that will stand the test of time. A sloppy grout job can ruin the look of the most beautifully laid stone, while skipping the sealer leaves your hard work vulnerable to moisture, stains, and fading.
Let's make sure you nail these final, crucial steps.
Perfecting Your Grout Lines
The right grout does more than just fill the gaps; it complements the stone and completes the entire look. We actually developed our StoneFill Grout for this very reason. It’s a premium mix available in a range of colors specifically designed to pair perfectly with our stone veneer collections, ensuring a cohesive, high-end finish.
Applying it correctly is all about control and timing. The best tool for the job, hands down, is a grout bag. Think of it like a baker’s piping bag for masonry.
- Get the Mix Right: Mix the StoneFill Grout until it’s about the consistency of thick cake batter. It needs to be stiff enough to hold its shape but fluid enough to squeeze out of the bag without a fight.
- Load the Bag: Scoop the grout into the bag, but don't fill it more than halfway. This gives you more control. Twist the top to build up some pressure.
- Apply with Precision: Get the tip deep into the joints and squeeze with steady, even pressure. You want to overfill the joints just slightly. This technique keeps the grout off the stone faces, which will save you a massive cleanup headache later.
Tooling for a Flawless Finish
Once the joints are filled, your most important tool becomes patience. You need to wait for the grout to set up to the "thumbprint-hard" stage. What does that mean? It means when you press your thumb lightly onto the grout, it leaves a print but doesn't stick to your finger.
This is the golden moment to tool the joints.
Using a jointing tool or even a small, shaped stick, press and smooth the grout to your desired depth and shape. This compacts the grout, creating a dense, water-resistant joint and a clean, finished look. Don't worry about the excess that falls away; you can just brush it off once everything is fully dry.
Rushing this stage is the most common mistake I see. If you tool the grout while it's still wet, you'll smear it all over your beautiful stone. But if you wait too long, it will be hard as a rock and impossible to shape. Check the consistency often—patience is your best friend here.
Sealing Your Investment with ArmorSeal
After letting the grout fully cure for at least 48-72 hours, it's time for the final protective step. Think of sealing your stone veneer as applying an insurance policy. It's a simple process that provides powerful protection against the elements, preserving the vibrancy and integrity of your work for years to come.
We recommend our ArmorSeal breathable masonry sealer. A "breathable" sealer is absolutely critical—it blocks liquid water from getting in but allows water vapor from inside the wall to escape. This prevents trapped moisture, which is a major cause of failure in cold climates due to destructive freeze-thaw cycles.
Applying ArmorSeal is a breeze. Just use a pump sprayer or roller to apply a uniform coat over the entire surface, grout lines and all. It goes on with a milky appearance but dries to a clear, matte finish that won’t change the natural look of the stone.
This single application protects your exterior from water damage, prevents staining from dirt and mildew, and guards against fading from harsh UV rays. You can learn more about the crucial role of a quality sealant in our detailed guide on sealing stone veneer. One coat every few years is all it takes to keep your home’s new exterior looking as good as the day you finished it.
Your Stone Veneer Installation Questions Answered
Even the most detailed guide can't cover every single question that pops up on a big project like this. Let's walk through some of the things people often ask us before they get started. Getting these sorted out first will give you the confidence to dive in and get that professional look you’re after.
Can I Install Stone Veneer Over My Existing Siding or Brick?
This is probably the number one question we get. The short answer is: it depends on what's already there.
You can absolutely go over a clean, solid brick or stucco wall. But if you have wood or vinyl siding, that’s a different story. You should never install stone veneer directly over siding. It has to come off completely so you can get down to the wall sheathing.
Why? Because you need to create a proper foundation. Removing the siding lets you install a seamless moisture barrier, like our WeatherGuard barrier, followed by new metal lath. This is a non-negotiable step. It’s what gives you a stable, waterproof surface and prevents serious moisture problems down the road.
How Do I Figure Out How Much Stone and Mortar I Need?
Nothing stalls a project faster than running out of materials mid-job. Getting your numbers right from the start is key.
First, measure the total square footage of the area you're covering (just multiply the length by the height). Then, walk the project and measure the total linear feet of all the outside corners. Our flat stone pieces are sold by the square foot, and the corner pieces are sold by the linear foot.
A little pro tip we always share: order 10% extra of everything. This "waste factor" is a lifesaver. It covers you for any cuts you have to make, pieces you need to trim, or the occasional accidental drop.
To make this even easier, just head over to our product pages. We have a built-in materials calculator right there. Pop in your measurements, and it’ll spit out exactly how much stone, mortar, and grout you need. No guesswork required.
What's the Best Weather for Installing Exterior Stone Veneer?
Working with the weather, not against it, is critical for getting the mortar to cure properly. The sweet spot for installation is anywhere between 40°F and 90°F (4°C and 32°C).
Try to avoid working in the blazing hot sun. It can literally bake the moisture out of the mortar too quickly, which leads to a weak bond that won't last. If you find yourself working on a hot day, it helps to lightly mist the wall with some water right before you start setting the stone.
The biggest thing to watch out for is the cold. Never, ever start an installation if you see freezing temperatures in the forecast within the next 48 hours. A freeze will completely wreck the curing process and can ruin the entire job. For professional installers juggling multiple projects, it’s crucial to track jobs and costs efficiently to keep everything on schedule and profitable.
Ready to give your home's exterior that timeless, beautiful stone finish? Here at Flomary Group, we specialize in innovative, lightweight stone veneer systems that make stunning results achievable for everyone.
Take a look at our collections and find the perfect stone for your home.
