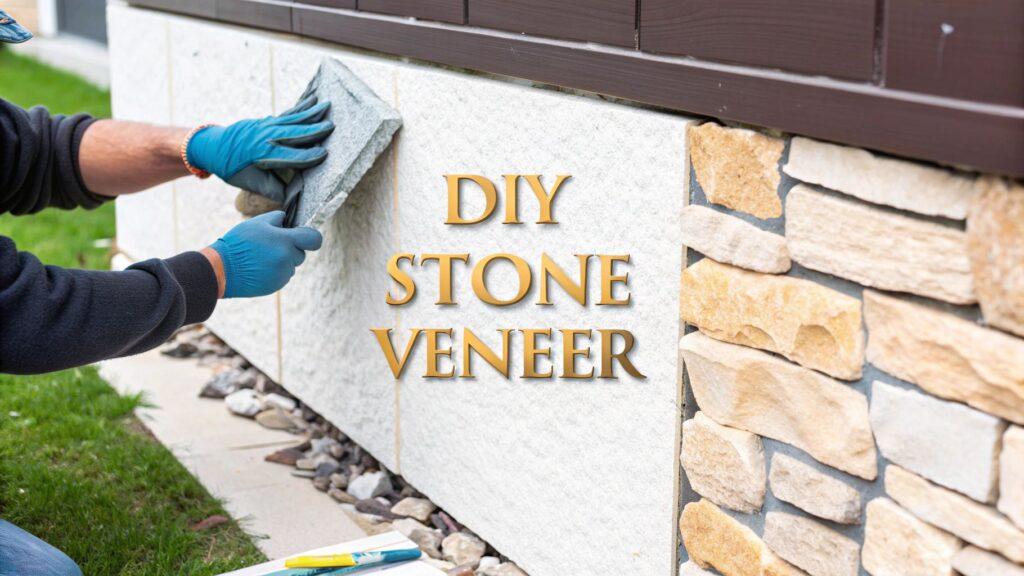
Thinking about a stone veneer project? You might be picturing a massive, complicated job, but it's really not that intimidating. The whole process boils down to three main phases: getting your wall ready, spreading on the mortar, and then setting the stones. And with incredible new materials like Flomary’s ultra-thin veneer, you can get that high-end, professional look without needing to be a master mason.
Why Stone Veneer Should Be Your Next DIY Project
Let's get one thing straight: this isn't your grandfather's stonework. Forget the back-breaking labor, structural engineering, and sky-high costs of traditional solid stone. Stone veneer gives you the exact same stunning look—all the rich textures and authentic colors you love—but in a package that's perfect for a weekend warrior. It’s a serious upgrade that’s seriously doable.
The biggest game-changer is how light this stuff is. Full-dimension stone can weigh a whopping 75 pounds per square foot, which means you’d need to pour new footings and beef up your walls. Manufactured veneer? It's a fraction of that weight. This immediately saves you a ton of time and money, opening up projects you probably thought were impossible.
A Simple Way to Transform Any Space
One of the best things about stone veneer is how incredibly versatile it is. You can put it just about anywhere to create a stunning focal point or just add a touch of architectural class. I’ve seen it work wonders in so many applications.
- Fireplace Surrounds: Take a boring, builder-grade fireplace and turn it into the rustic heart of the home.
- Interior Accent Walls: Add a massive dose of texture and warmth to a living room, bedroom, or even a hallway.
- Home Exteriors: Instantly boost curb appeal by updating your home's facade, foundation, or porch columns.
- Outdoor Kitchens: Build a durable, stylish backdrop for your grill and outdoor entertainment hub.
If you're having trouble picturing how it'll look, play around with a virtual room design app first. It's a great way to test out different stone styles and colors before you commit, so you can move forward with total confidence.
A Smart Investment That Pays Off
Beyond just looking great, stone veneer is a savvy move for your wallet. The material costs less than natural stone, but the real savings come from the DIY installation. Labor is often the biggest ticket item in any renovation, so by tackling it yourself, you keep that money in your pocket.
It’s no wonder this is catching on. The global stone veneer market was valued at around USD 1.5 billion in 2023 and is expected to nearly double by 2032. Homeowners are realizing they can get a premium look for a practical price.
The real beauty of working with a product like Flomary’s ultra-thin veneer is that it empowers you. It takes a project that feels intimidating and makes it achievable, allowing you to add significant value and personality to your home with your own hands.
Assembling Your Stone Veneer Toolkit
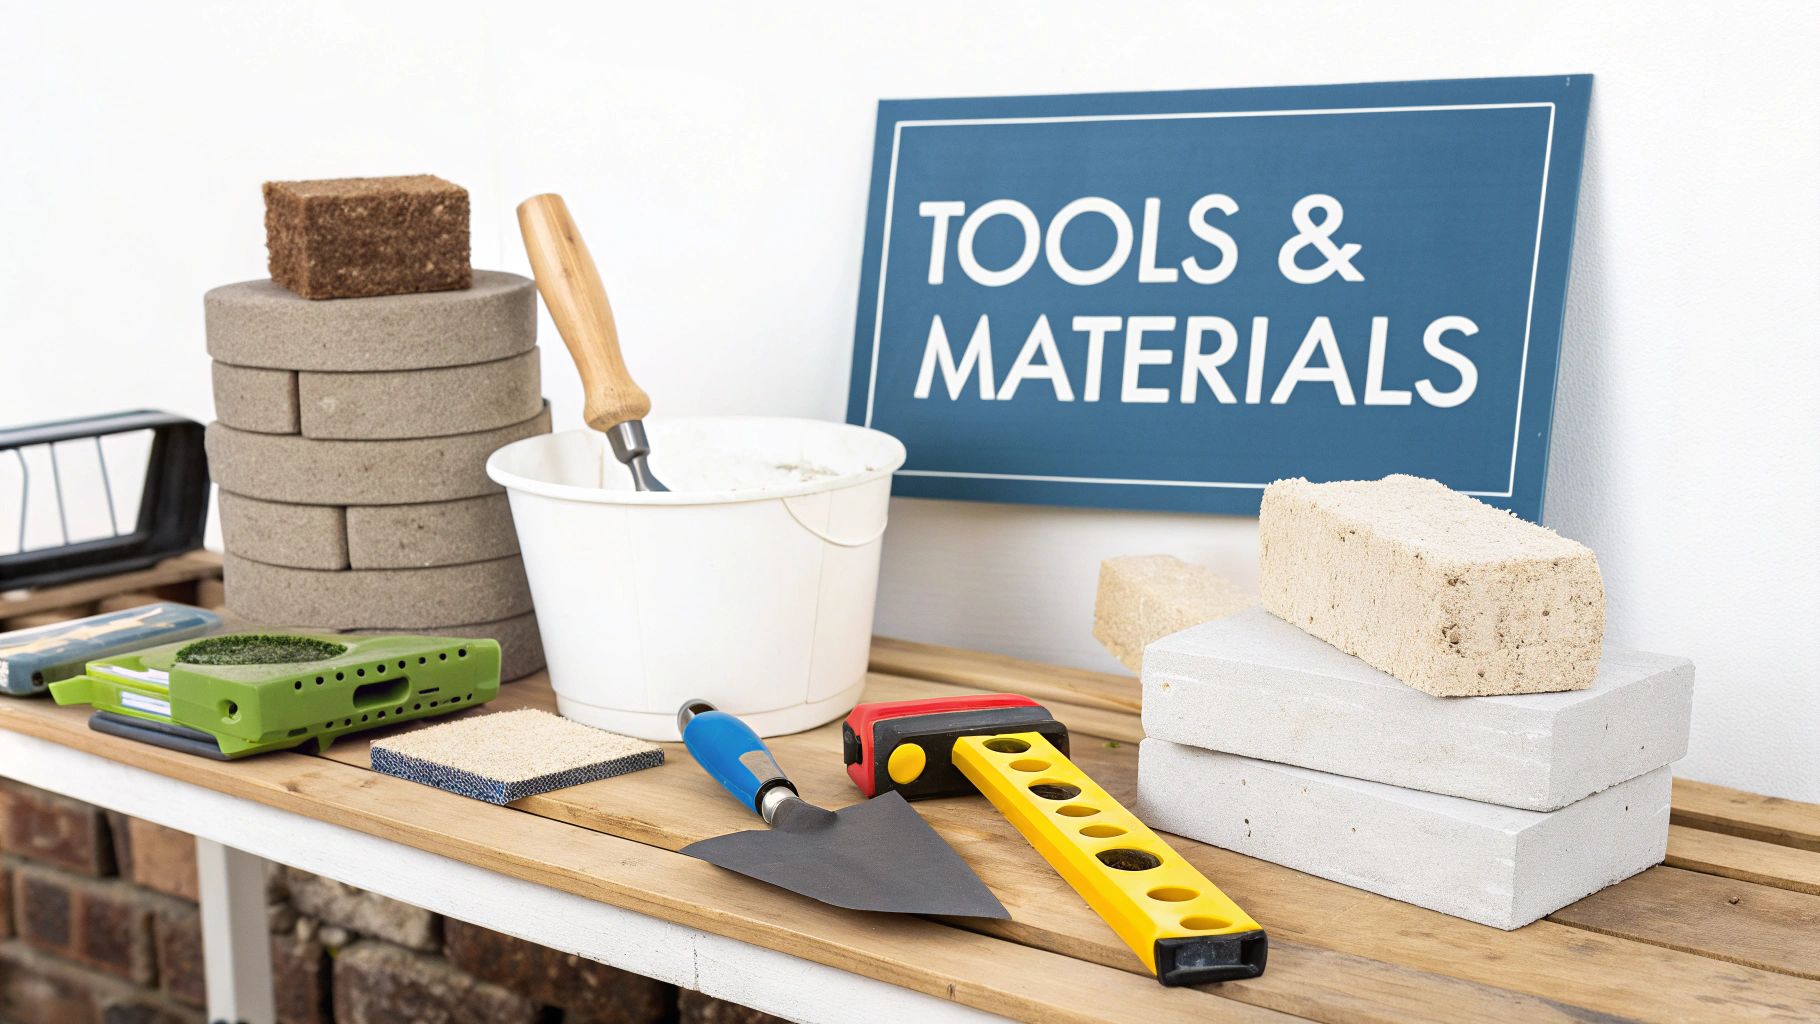
Any successful stone veneer project starts long before the first piece hits the wall. It begins with getting the right gear lined up and ready to go. Think of this less as a simple shopping list and more as gathering the partners that will make the job smoother, safer, and far more professional.
I can't stress this enough: having everything you need before you mix your first bag of mortar is the key. It prevents those frustrating mid-project runs to the hardware store and stops you from improvising with the wrong tool—a shortcut that almost always leads to sloppy work. A well-stocked toolkit is what separates a frustrating weekend from a stunning result you'll be proud of for years.
The Application Essentials
These are the tools you'll be reaching for constantly. Don't skimp here; quality tools make a world of difference in how easily the installation goes and how good it looks in the end.
- Notched Trowel: This is your most important tool for adhesion. A 1/2" x 1/2" square-notched trowel is exactly what you need to create those perfect, uniform ridges in the mortar. When you press the stone into place, the ridges collapse and spread the mortar evenly, giving you maximum coverage and a rock-solid bond without any air pockets.
- Heavy-Duty Buckets: You’ll want at least two—one for mixing your adhesive and another filled with clean water for rinsing tools. A sturdy 5-gallon bucket is perfect for the job.
- Power Drill with Mixing Paddle: Trust me, mixing mortar by hand is a recipe for lumps and an aching back. A paddle attachment on a corded drill whips it into a smooth, creamy consistency every time, which is absolutely critical for proper adhesion.
- Grout Bag: It looks like a giant pastry bag for a reason! This lets you apply grout right where you want it—in the joints—without smearing it all over the beautiful stone faces. It's a huge time-saver when it comes to cleanup.
Making the Cut: Tools for Shaping Stone
Unless you're working on a perfectly square wall with zero obstacles, you're going to be cutting stone. Making clean, precise cuts is what elevates a project from "DIY" to "professional," and the right tools make it completely achievable.
A classic rookie mistake is thinking you can get by with a standard saw blade. It simply won't work. You’ll just end up with shattered stones and a ruined blade. The only way to get the clean, crisp cuts your project deserves is to invest in a diamond-tipped blade.
Your most versatile cutting tool will be an angle grinder with a 4-inch diamond blade. It's perfect for straight cuts, shaping stones to fit snugly around outlets, or trimming edges for a clean wrap around a corner. And please, always wear your safety glasses and gloves when you fire it up.
If you have a lot of straight cuts to make, renting a wet saw is a fantastic move. The continuous spray of water keeps dust to a minimum and cools the blade, giving you incredibly smooth edges. It's especially handy when you're applying stone veneer to a large, flat surface.
Your Essential Stone Veneer Installation Kit
Beyond the application and cutting tools, a few other items are non-negotiable for keeping your project precise and safe. Here’s a look at the tools and materials you'll need, what they do, and what to look for when you're buying.
| Item | Primary Use | Pro Tip for Selection |
|---|---|---|
| Tape Measure | Ensuring accurate dimensions for cuts and layout. | Choose one with a sturdy lock and at least a 1-inch wide blade for easy reading. |
| Level | Keeping stone courses straight and plumb. | A 4-foot level is great for checking long runs, while a smaller torpedo level is handy for individual stones. |
| Safety Glasses | Protecting your eyes from flying debris and mortar splashes. | Look for ANSI Z87.1-rated glasses that offer full, wraparound coverage. |
| Work Gloves | Protecting your hands from abrasive mortar and sharp stone edges. | Get a pair of nitrile-coated gloves; they offer great grip and are waterproof. |
Finally, don't forget a simple wire brush. It’s invaluable for cleaning dried mortar off your tools and for scrubbing the backs of stone pieces to ensure you get the strongest possible bond. It’s a small, inexpensive tool that plays a surprisingly big role in the final quality of your wall.
Prepping Your Wall for a Lasting Bond
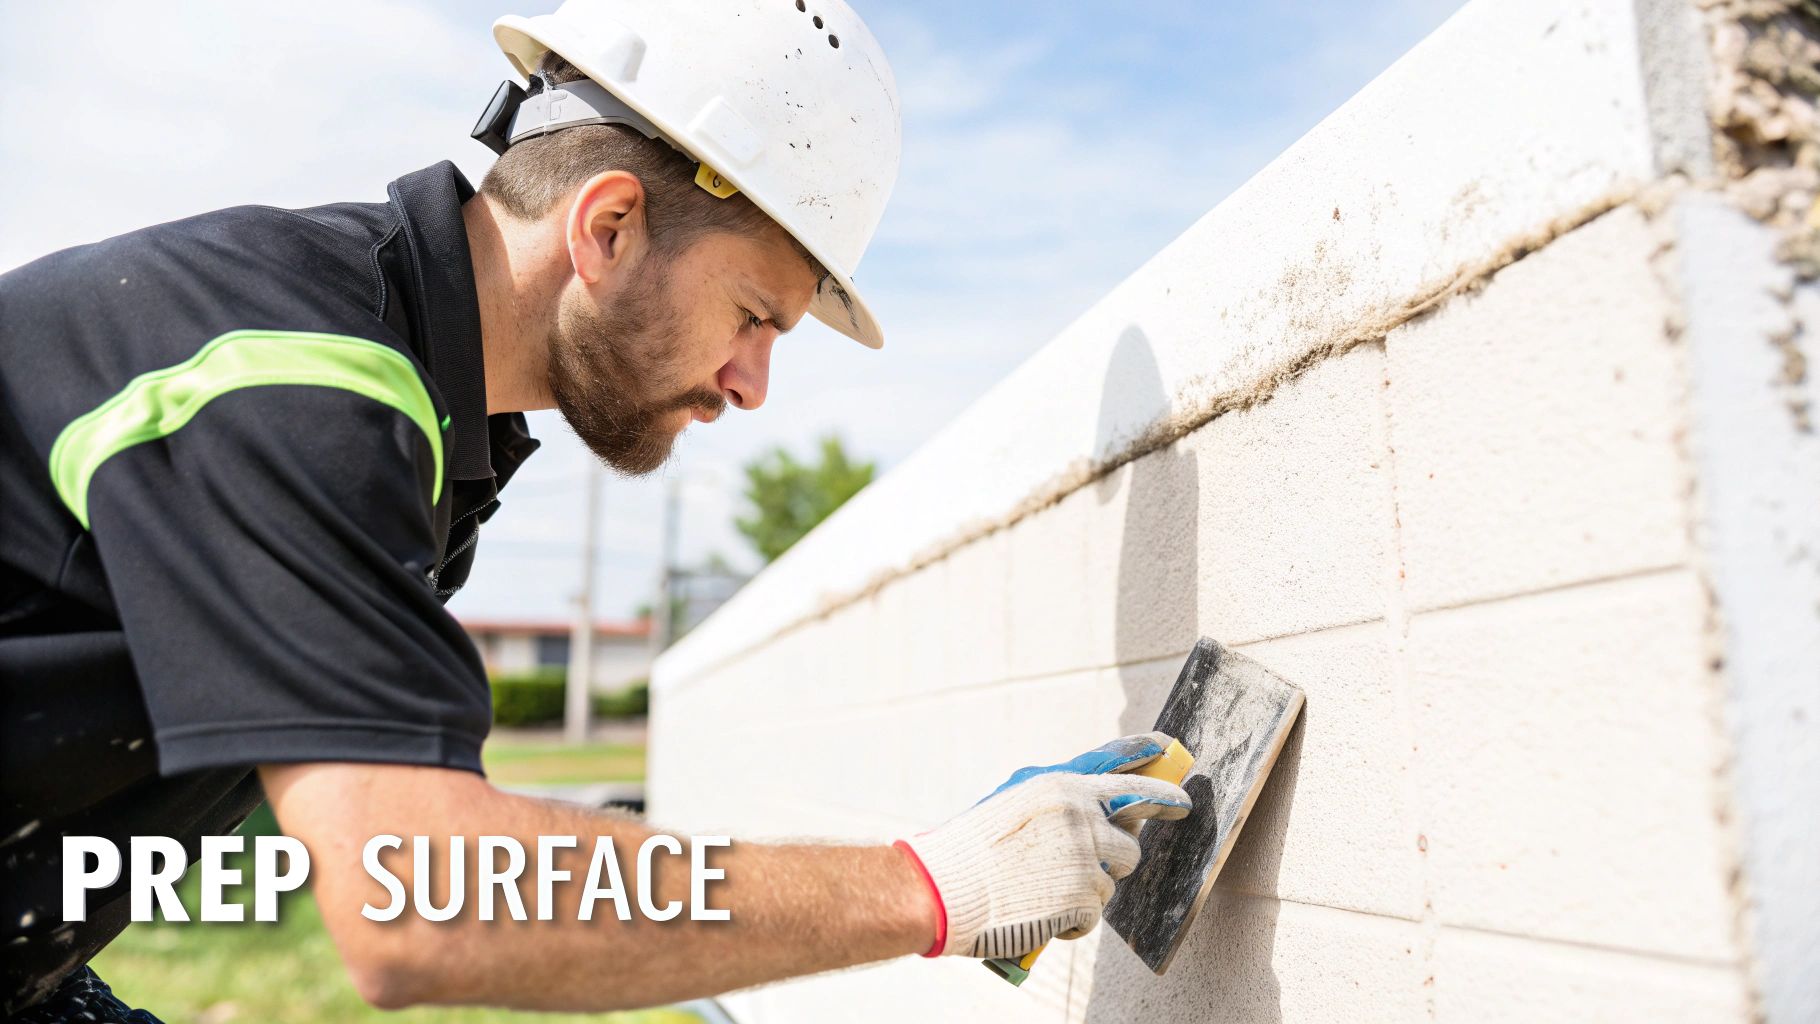
Let's be brutally honest for a moment. If a stone veneer project fails, there's a 90% chance the problem started right here, during wall preparation. This is the unglamorous but absolutely essential foundation of your entire project.
Get this right, and your stone will hold fast for decades. Cut corners, and you’re setting yourself up for a costly disaster down the road. Proper prep ensures the mortar has a clean, stable surface to grab onto. Think of it like painting a car—you wouldn't spray a new coat over rust and dirt, and the same principle applies here.
Every step you take now is an investment in the longevity and beauty of your finished wall.
First Things First: Clean and Inspect Your Surface
No matter what your wall is made of—drywall, concrete, plywood, or cement board—it needs to be clean, dry, and structurally sound. Your goal is to eliminate anything that could get between your mortar and the substrate.
Start by giving the entire surface a thorough once-over.
- Scrub Away Grime: Use a stiff brush and a simple cleaning solution to remove any dust, dirt, grease, or oils. A clean surface is non-negotiable.
- Address Peeling Paint: Mortar can't stick to loose paint. Scrape or sand off any flaking or peeling areas until you’re back to a solid, stable surface.
- Repair Damage: Fill any significant cracks, holes, or imperfections with an appropriate patching compound. Give it plenty of time to cure completely.
This initial cleaning is one of the easiest ways to ensure you know how to apply stone veneer correctly. Skipping it is also one of the most common rookie mistakes I see.
Understanding Your Wall Type
The kind of wall you're working with dictates the specific prep work you'll need to do. An interior drywall accent wall has very different requirements than an exterior concrete foundation, so one size does not fit all.
| Wall Type | Key Preparation Steps | Best For |
|---|---|---|
| Poured Concrete/Brick | Clean surface thoroughly. Mortar can often be applied directly if the surface is unpainted and unsealed. | Interior & Exterior |
| Cement Backer Board | Seam the joints with fiberglass tape and thin-set mortar. This is an ideal surface. | Interior & Exterior |
| Interior Drywall | Clean and scuff the surface. A bonding primer can help, but for best results, cover with cement board first. | Interior Only |
| Plywood/OSB | Requires a moisture barrier (WRB) and metal lath before a scratch coat of mortar is applied. | Interior & Exterior |
For exterior projects or any area exposed to moisture (like a kitchen backsplash or bathroom), using a cement backer board is always the superior choice over standard drywall. It's a small upfront cost that prevents huge headaches later.
The Critical Role of Moisture Barriers and Lath
When working on any wood-framed wall (like plywood or OSB), you absolutely must install a moisture management system. This isn’t optional. It involves two key components: a Water-Resistive Barrier (WRB) and metal lath. This is the professional standard for a reason—it prevents water from getting to the wood sheathing, which can lead to rot, mold, and catastrophic failure of the entire wall.
A proper installation includes two layers of WRB (like builder's felt or house wrap) applied in a shingle-like fashion, so water always flows down and out. Over this, you'll fasten a galvanized metal lath.
I once saw a project where the installer overlapped the lath sheets incorrectly. Within two years, a long, vertical crack appeared right down the seam. Gravity is relentless, and the weight of the stone veneer had slowly pulled the lath apart, taking the stone with it.
The lath acts as a metal skeleton, giving the mortar something substantial to grip. Make sure you use galvanized fasteners long enough to penetrate at least ¾-inch into the wall studs, and space them every 6 inches vertically. Overlap all lath seams by at least one inch.
For a deeper dive, our complete guide to stone veneer siding installation covers this process in exhaustive detail.
Applying the Scratch Coat
Once your lath is securely in place, it’s time for the scratch coat. This is a ½-inch thick layer of mortar that you trowel directly onto the lath, making sure to embed it completely. This coat does two things: it provides a uniform surface for your stones and adds another layer of weather resistance.
While the mortar is still wet, use a scarifier or a notched trowel to rake horizontal grooves into the surface. These "scratches" give the final layer of mortar (the setting bed) something to mechanically lock into, creating an incredibly strong bond.
Let this scratch coat cure for at least 24 to 48 hours before you even think about setting your first stone. Rushing this step is like building a house on a wet concrete slab—it's guaranteed to cause problems.
Industry reports show that a staggering 30-40% of premature veneer failures are due to improper installation, with much of that stemming from poor surface prep. Given that labor can account for over half the total project cost, taking the time to do this right is the single best way to protect your investment.
Applying Adhesive and Setting Your Stones
Alright, your wall is prepped and you're ready for the fun part. This is where the magic happens, turning that blank surface into a stunning feature wall. A truly professional-looking and long-lasting installation all comes down to two things: mixing your mortar correctly and placing each stone with care.
Think of mixing mortar as more of an art than an exact science. You're shooting for a consistency that’s a lot like creamy peanut butter. It should be thick enough to cling to your trowel when you hold it upside down, but still smooth enough to spread easily. If your mix is too dry and lumpy, it just won't bond properly. Too watery, and you'll have stones sliding down your wall. Nailing this texture is your first big win.
Plan Your Layout Before You Mix a Thing
Before a single drop of mortar hits your trowel, take the time to lay out your stone pieces on the floor. I can't stress this enough—this "dry run" is probably the most critical step for anyone learning how to apply stone veneer. It’s your chance to map out a beautiful, natural-looking pattern without the pressure of the clock ticking on your mortar.
As you arrange the stones on the floor, keep these points in mind:
- Mix It Up: Pull pieces from several different boxes at once. This ensures you get a good blend of colors and textures across the entire wall, avoiding any weird, patchy sections.
- Vary the Flow: Don't cluster all the big pieces or all the small pieces together. The goal is a random, organic feel that looks like it was built by Mother Nature herself.
- Corner In: If your project has outside corners, always start with those specialty pieces. Lay them out first and then work your way inward from there.
This planning stage is all about solving the puzzle on the ground so you don't have to figure it out on the wall. You’ll see exactly which stones need to be cut and where, making the actual install go a whole lot smoother.
The Art of the Stick
Now you're ready to get some stone on the wall. My advice? Work in small, manageable sections—about five square feet at a time is a good rule of thumb. This keeps the mortar on the wall from drying out (or "skinning over") before you can set the stone, which is a one-way ticket to a weak bond.
There are a few ways to go about it, but the most reliable method I've found is a two-step approach. First, trowel a solid ½-inch thick layer of mortar onto the wall. Then, apply a thin, even coat to the back of the stone you're about to place. We call this back-buttering.
Back-buttering is the pro secret to getting 100% mortar coverage. It gets rid of any air pockets behind the stone. Those voids are where moisture can get trapped, freeze, and pop a stone right off your wall down the road.
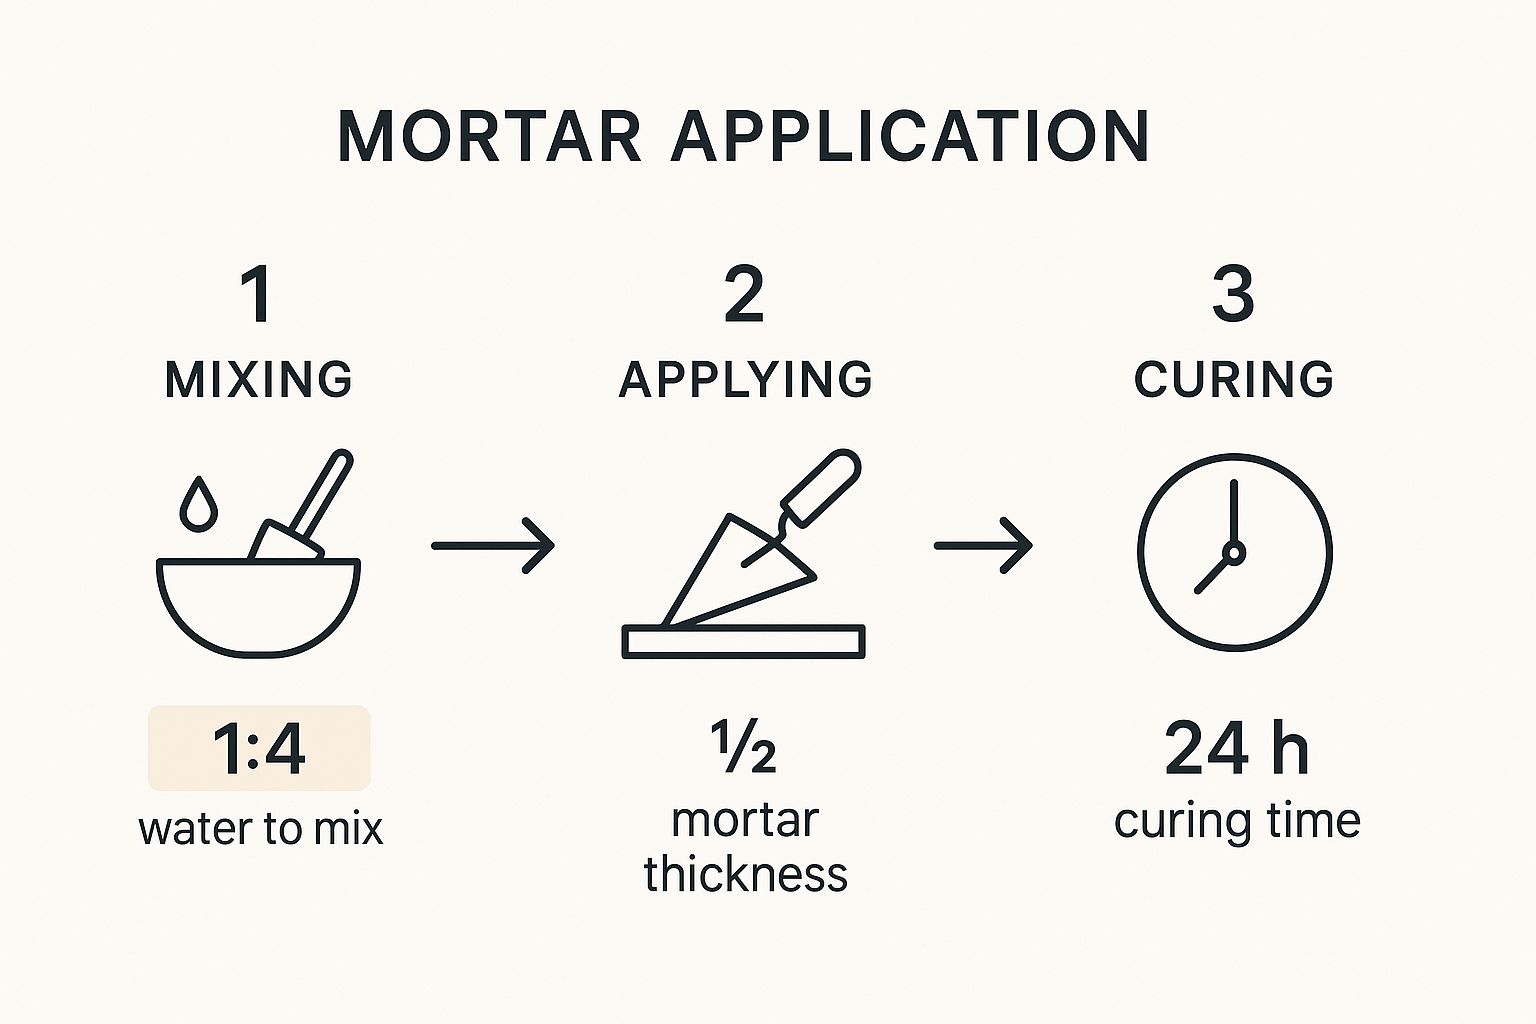
As you can see, getting the mix, application, and cure just right is what separates a job that lasts from one that fails.
Once the wall and stone are both buttered, press the stone firmly into the mortar bed. Give it a little back-and-forth wiggle as you push. You should feel the mortar really grab hold, and you’ll see a bit of excess ooze out around the edges—that’s the tell-tale sign of a solid, full-contact bond.
Setting the Pattern
Always begin at the bottom corners and work your way up and across the wall. This lets gravity work for you, giving each new row a solid foundation to rest on. Keep your level close by and check your work every couple of courses to make sure your lines aren't starting to wander.
One of the most common rookie mistakes is lining up the vertical joints, which creates an unnatural, grid-like pattern. You want to stagger those joints, just like a bricklayer would, to get that authentic, hand-laid look.
You can use small plastic spacers or even little stone shims to maintain somewhat consistent grout lines, but don’t get obsessed with perfection. A little variation is what gives a stone wall its character. And if you get some mortar on the face of a stone, just leave it alone. Let it dry until it's crumbly, then flick it off with a stiff brush. Trying to wipe wet mortar will only smear it and permanently stain the stone.
Making Precision Cuts Like a Pro
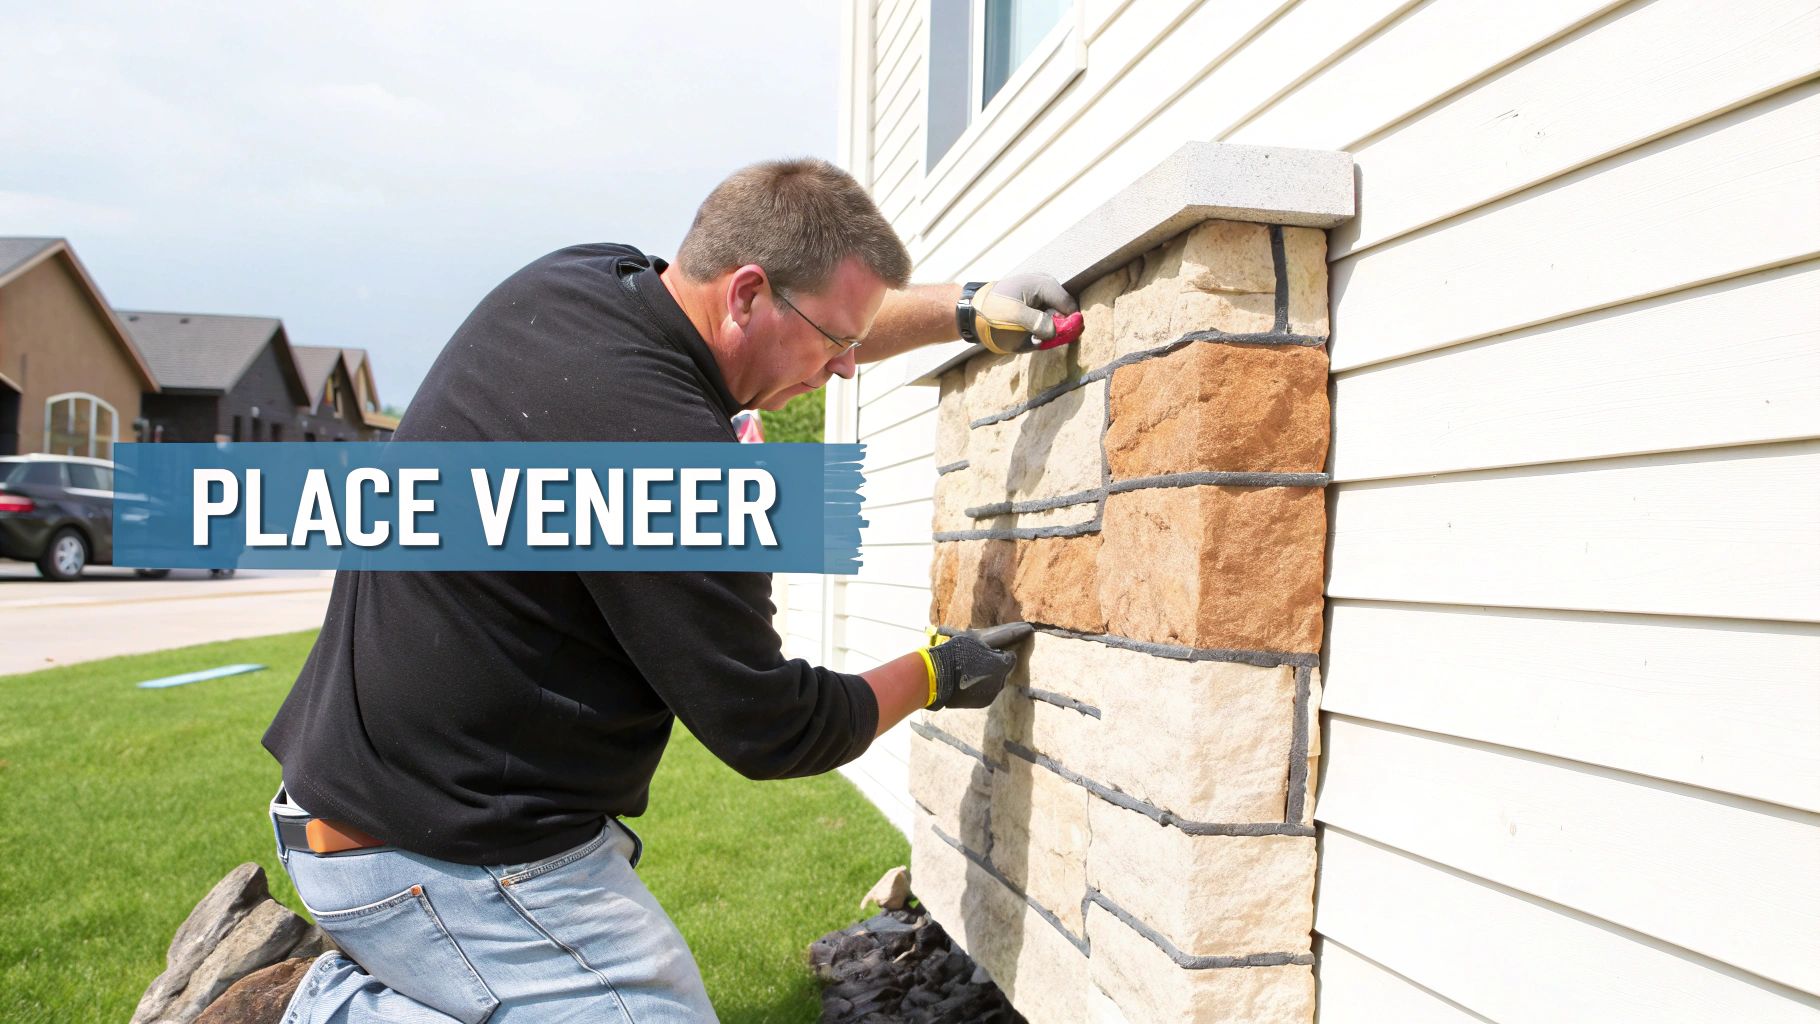
This is where the real artistry of a stone veneer project comes to life. So far, you've been setting full panels, which is satisfying, but eventually, you'll run into the real world of walls: light switches, outlets, windows, and corners. All of them demand custom-cut pieces.
Don't be intimidated. Making these precision cuts is what separates a project that looks "pretty good" from one that looks professionally finished. A perfectly snug fit around a window frame or a crisp corner is what sells the whole illusion. It’s all about patience, careful measurement, and treating each piece like its own mini-project.
Your Go-To Tool: The Angle Grinder
For most installers, a handheld angle grinder equipped with a 4-inch diamond blade is the absolute workhorse of the job. It’s got all the power and versatility you need for straight cuts, L-shaped corner pieces, and notching out sections for outlets.
Yeah, it's noisy and throws some sparks, but once you get a feel for it, you'll be shaping stone with confidence. Safety first, always.
- Gear Up: Safety glasses are a must. Gloves are a very good idea.
- Secure Your Piece: Never, ever hold a small piece of veneer by hand while cutting. Clamp it down firmly to a stable work surface.
- Let the Blade Do the Work: Don't force the grinder. Apply steady, even pressure and let the diamond blade grind its way through. Pushing too hard just gives you a jagged cut and increases the risk of kickback.
Imagine you're cutting around an electrical outlet. You'd simply measure the box's location, transfer those marks to the back of the veneer panel, and then make a few straight cuts to pop out the notch. The old "measure twice, cut once" mantra has never been more true.
For Cleaner Cuts, Use a Wet Saw
If you've got a big project ahead of you—like a huge fireplace surround or an entire exterior wall—do yourself a favor and rent a tile wet saw. The difference is night and day.
A wet saw continuously feeds water over the diamond blade as it cuts. This keeps the blade cool and results in incredibly clean, smooth edges with almost no chipping.
But the biggest win? Virtually no dust. Cutting stone with a dry angle grinder kicks up a massive cloud of fine silica dust, which you really don't want to breathe. A wet saw captures almost all of that dust in the water, making it the cleaner and safer choice, especially if you're working indoors.
For a deeper dive into the pros and cons, check out our guide on the best way to cut stone veneer for a complete breakdown of the options.
Pro Techniques for Those Tricky Shapes
Eventually, you'll hit a curveball. An arched doorway, a pipe coming through the wall, or an old, uneven doorframe. Straight cuts won't work here, but templates and scribing will.
Dealing with curves is easier than you think. Grab a piece of cardboard and press it firmly against the arch, tracing the shape. Cut out this cardboard template, lay it on your stone panel, and trace the line. Then, use your angle grinder to make a series of small, straight relief cuts up to your traced line, nibbling away the excess material until you get a perfect match.
Another fantastic technique is scribing. When you need a stone to fit against an irregular surface like a rough stone hearth, hold the veneer panel as close as you can to the surface. Use a scribe tool or a simple compass to trace the contour of the wall directly onto the panel. This transfers the exact shape you need to cut for a seamless, gap-free fit that screams professional quality.
Putting the Finishing Touches on Your Stonework
You’ve carefully laid out, mortared, and placed every single stone. The wall already looks fantastic, but we're not quite at the finish line. The next two steps—grouting and sealing—are what will truly transform your project from a good DIY job into a stunning, professional-grade masterpiece.
This is where you lock in the final look and feel of your wall and give it the protection it needs to last for years. It's tempting to rush this part, but trust me, taking your time here makes all the difference. The right grout can completely change the character of the stone, and a quality sealer is its best defense against the elements.
Finding Your Grouting Style
Grouting is so much more than just filling in the gaps. It's a design choice that adds depth and defines the entire aesthetic of the wall. You basically have two paths to choose from: a clean, defined recessed joint or a more rustic, overgrouted look.
H3: The Clean Look: Recessed Joints
For a crisp, modern feel where each stone is clearly defined, a recessed joint is the way to go. The absolute best tool for this job is a grout bag—think of it like a heavy-duty pastry bag for mortar.
- Mix your mortar so it has a consistency like thick frosting. You want it wet enough to flow but not so soupy that it runs down the wall.
- Fill the bag and snip the tip off. You want the opening to be just a bit smaller than your tightest joints.
- Gently squeeze the grout deep into the joints, overfilling them just a touch.
- Let the grout set until it's "thumbprint" dry. This means you can press your thumb on it and it leaves an impression but doesn't stick to your finger. Now, grab a jointing tool or even a small, rounded stick and pack the grout in, scraping away the excess. You'll be left with beautiful, clean, recessed lines.
H3: The Rustic Look: Overgrouting
If you're aiming for a more traditional, old-world charm, the overgrout (or full-joint) technique is perfect. With this method, you apply the grout more liberally, filling the joints completely and letting it spread slightly over the stone edges. It creates a softer, more blended appearance that really tones down the sharp lines between the stones.
Pro Tip: Grout color is one of the most powerful tools at your disposal. A color that closely matches the stone will give you a unified, monolithic look. On the other hand, a contrasting color—like a light gray grout against dark stones—will make every single piece pop, highlighting the unique pattern and texture.
The Final, Crucial Step: Sealing Your Stone
Once your grout has had time to fully cure—give it anywhere from 24 to 72 hours, depending on the temperature and humidity—it’s time to seal the deal. Sealing your stone veneer isn't just a suggestion; it's essential, especially for any exterior walls or indoor areas like kitchens and backsplashes that see a lot of moisture.
A good sealer soaks into the pores of the stone and the grout, creating an invisible shield against water, dirt, and stains.
This simple step does two critical things. First, it prevents moisture from seeping behind the stones, where it can freeze, expand, and cause serious damage in colder climates. Second, it makes cleaning a total breeze. Spills will bead up on the surface instead of soaking in and leaving a permanent stain.
You've got a few options when it comes to the final finish. An enhancing sealer will slightly darken the stone, deepening its natural colors and giving it that rich "wet" look that really brings out the character. If you love the way the stone looks as is, a natural-look penetrating sealer is what you want. It offers all the same protection without changing the appearance one bit.
To get a better handle on the best product for your specific stone, you can explore our detailed guide on sealing stone veneer to help you make the perfect choice.
Got Questions? We’ve Got Answers.
No matter how good the instructions are, you’ll always hit a few head-scratchers once you’re in the thick of a project. It’s just the nature of the beast. When you're figuring out how to apply stone veneer, a few common questions always seem to pop up. Here are the answers I give people who find themselves stuck on those last few details.
Can I Just Install This Stuff Over Painted Drywall?
I get this one all the time. It feels like a quick shortcut, but trust me, sticking veneer directly onto a painted wall is asking for trouble down the road. The problem is simple: your mortar is only as strong as the paint's grip on the drywall. If that paint ever peels or fails, your beautiful stonework is coming down with it.
To do this right and ensure your work lasts, you have two options. You can either sand or scrape off all the paint to get to the bare drywall, or you can seriously scuff up the surface to give the mortar something to bite into. If you go the scuffing route, you absolutely need a good quality bonding primer made for masonry.
Honestly, if you want a bulletproof installation, especially in a place that might get a little damp, just screw cement backer board right over the drywall. It's built for mortar, gives you a perfect surface, and removes any guesswork.
Is There a "Right" Temperature for This Job?
Believe it or not, the weather has a huge say in how well your project turns out. The mortar you're using is a chemical product, and it needs the right conditions to cure properly and create that rock-solid bond you’re after.
For the best results, you want to be working in temperatures between 40°F (4°C) and 90°F (32°C).
- Working in the Cold? If it drops below 40°F, the water in your mix can freeze. This stops the curing process dead in its tracks and leaves you with a weak bond that you can't trust.
- Working in the Heat? On the flip side, if it’s over 90°F or you’re in the blazing sun, the mortar can "flash dry." It loses moisture too fast, before it's had a chance to properly grab onto the stone and the wall.
A pro tip for hot days: try to work in the shade. If the wall or the stones themselves feel hot to the touch, give them a quick, light misting with a spray bottle right before you apply the mortar.
How Long Do I Really Need to Wait Before Grouting?
This is where a little patience pays off big time. After you’ve placed that final stone, you need to step back and let the setting mortar do its thing. If you jump the gun and start forcing grout into the joints too early, you risk popping stones loose. Then you’re stuck doing repairs, which is never fun.
Give it at least 24 to 48 hours after the last stone is set before you even think about mixing up your grout. This window can change depending on the mortar you used, the humidity in the air, and the temperature, so always give the manufacturer’s bag a quick read for their specific recommendation.
And once your project is all done, knowing how to clean stone floors and walls is the key to keeping it looking brand new for years.
Ready to transform your space with the authentic beauty and modern convenience of ultra-thin stone? At Flomary Group, we reimagine what’s possible with stone. Explore our stunning collection of flexible stone tiles and manufactured veneer panels to find the perfect finish for your project. https://flomary.cn
Article created using Outrank
