Why Stone Veneer Has Become Australia's Most Popular Siding Choice
You're probably eyeing stone veneer because you've seen how amazing it looks and want that same curb appeal. I get it! Over the last ten years, I've watched this material go from a niche product to a mainstream favorite. And it's not just about looks anymore, though that's definitely a big part of it.
The practical benefits are a huge draw. Stone veneer can actually make your home more energy-efficient – cooler in the summer and warmer in the winter – than other siding options. Plus, there’s practically zero maintenance. No more scraping and painting every few years like you would with timber cladding. It's built to withstand Australia's tough climate, making it a worry-free choice for the long haul.
This rise in popularity is backed by real numbers. The Australian market for stone veneer cladding has boomed over the past couple of decades. Industry experts estimate that over 500,000 square metres of stone veneer are installed annually across the country, as of the late 2010s and early 2020s. About 70% of these installations are residential, showing just how much homeowners value its long-term benefits and aesthetic appeal. You can learn more about Australian stone veneer trends at Veneerstone.
I’ve chatted with tons of homeowners who've made the switch, and they all say the same thing: less maintenance, higher home value, and the simple pleasure of having a beautiful, durable exterior. So, let's explore what makes stone veneer such a popular choice and see if it's the right fit for your Aussie home.
Choosing The Right Stone Veneer System For Your Project
Picking the perfect stone veneer can feel like navigating a maze, right? So many options, so much marketing hype! After years of working with different systems, I've learned that the glossy brochures don’t always tell the whole story. Sure, traditional stone veneer is beautiful, but that weight can be a real headache. Thankfully, lightweight systems have come a long way and can save you a ton of installation time. Then there’s flexible stone veneer – a game-changer for curved surfaces and intricate designs.
Speaking of Flomary, you might find their overview of various types of stone veneer helpful.
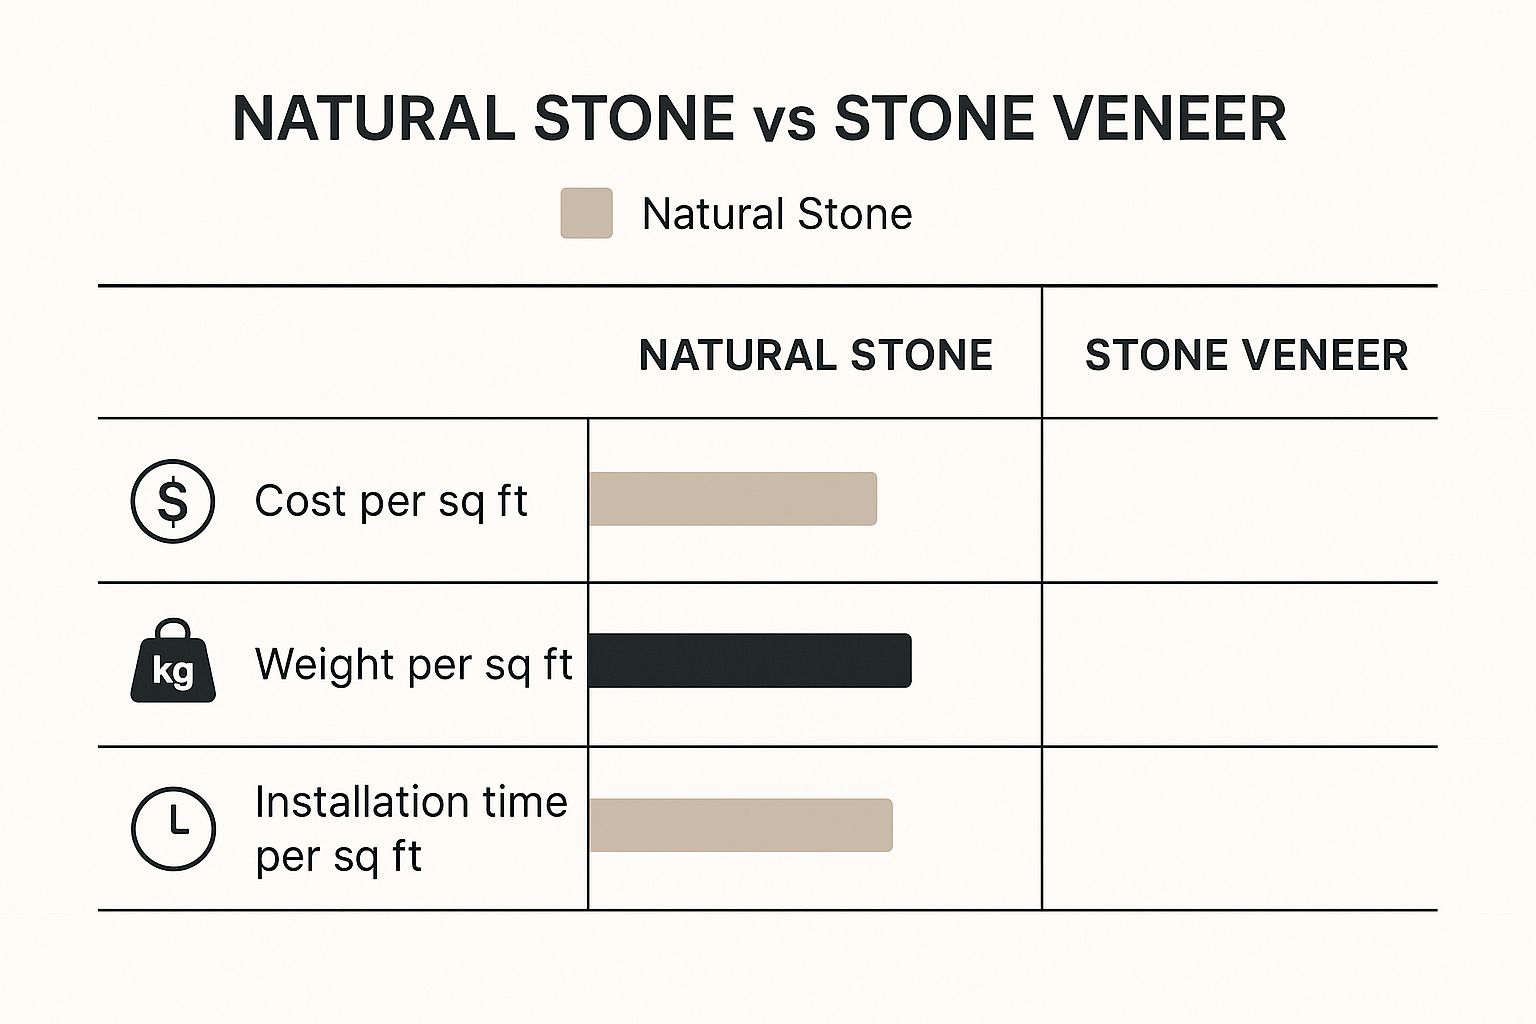
Let’s ditch the sales pitches and get down to brass tacks. This infographic highlights some key differences between natural stone and stone veneer:
See? Stone veneer offers some compelling advantages when it comes to cost, weight, and installation time compared to natural stone. It’s a practical and stylish choice that's gaining popularity, especially here in Australia. In fact, I've noticed a real shift towards lightweight and flexible options in the Aussie market. By 2025, flexible stone veneers (made from 100% natural metamorphic rock) became a go-to for both interiors and exteriors, thanks to their easy installation and budget-friendly nature. You can dive deeper into this growing trend here.
Evaluating Stone Veneer Quality
Beyond the initial showroom sparkle, how can you tell if you're getting truly high-quality stone veneer? Here are a few tips I've learned over the years:
-
Check the Back: Flip the veneer over and look at the back. A uniform texture and a solid bond between the stone and the backing material are crucial for long-term durability.
-
Color Consistency: Make sure the color is consistent across the different pieces. Too much variation can end up looking artificial, especially on larger projects.
-
Sample it: Don't hesitate to ask for samples. And don't just admire them indoors! Leave them outside for a few days to see how they hold up against sun and rain. This gives you a much better idea of their real-world performance.
-
Instructions Matter: Look for clear, comprehensive installation instructions. A reputable manufacturer will provide detailed guidance, setting you up for success.
Before we go further, let's talk about installation methods. I've put together a comparison table to help you weigh your options:
Stone Veneer Installation Methods Comparison
This table compares the traditional board-substrate method with direct-to-stud installation, looking at cost, time, and complexity.
| Installation Method | Time Required | Material Cost | Labor Complexity | Best For |
|---|---|---|---|---|
| Traditional (Board-Substrate) | Longer | Higher | Moderate | Complex designs, uneven walls |
| Direct-to-Stud | Shorter | Lower | Can be higher if studs are irregular | Straightforward projects, new construction |
As you can see, direct-to-stud can be quicker and cheaper, but it requires more precision. The board-substrate method offers more flexibility for uneven walls but adds to the project's overall cost and timeline.
Picking the right stone veneer is more than just choosing a pretty facade. It’s about finding the right system for your project’s specific needs, ensuring it looks great and performs well for years to come. Don’t be swayed by marketing jargon. Get hands-on, ask questions, and make informed decisions. You got this!
Surface Preparation That Actually Sets You Up For Success
This is where the pros really earn their keep. Surface preparation for stone veneer siding isn't just another step; it's the bedrock of the entire project. I've seen beautiful stone veneer projects fail spectacularly in just a few months because of rushed prep work. Conversely, I've seen so-so stone look amazing because the underlying surface was perfectly prepped. When choosing your stone, consider suppliers like Carmel Stone Imports for a good range of options.
Assessing Your Existing Surface
First, you need to figure out what you're working with. Existing siding? Brick? Brand new construction? Each situation demands a totally different approach. Get this wrong, and you'll be staring down the barrel of potentially thousands of dollars in repairs later. Believe me, I've learned this the hard way.
For example, if you’re dealing with existing timber cladding, carefully inspect it for rot, loose boards, and any telltale signs of water damage. With brick, check the mortar for integrity and the overall stability of the surface. New construction offers a clean slate, but even then, you have to make sure the sheathing is correctly installed and moisture-resistant.
Handling Uneven Surfaces and Moisture Management
Dealing with uneven surfaces is a pretty standard challenge. Minor bumps can usually be leveled out with a cement-based patching compound. For larger irregularities, you'll likely need furring strips. These are thin wooden slats that create an even plane for your stone veneer.
Moisture is the arch-nemesis of any siding installation. Proper flashing around windows and doors is absolutely critical. A moisture barrier behind the stone veneer provides another layer of protection, preventing water from getting trapped and causing damage. Think of it as a raincoat for your house: a small investment that offers major long-term benefits.
When to Remove Existing Siding
Sometimes, the existing surface is simply beyond repair. Extensive rot, significant water damage, or unstable sheathing often means you’re better off tearing it all down and starting from scratch. While this adds time and expense to the project upfront, it’s far less expensive than dealing with a failed installation down the road.
I remember working on a house where the homeowner insisted on installing stone veneer over rotting timber cladding. Less than a year later, the entire thing had to be torn down and redone. It was a painfully expensive lesson. Be honest with yourself about the condition of your current surface. Sometimes, demolition is the best first step. This careful assessment and thorough preparation will set the stage for a beautiful and long-lasting stone veneer siding installation.
Tools And Materials That Actually Make The Difference
Let's talk tools. I know, tackling a stone veneer siding installation can seem like a huge undertaking. But honestly, the tool list isn't as intimidating as you might think. After years of installations and swapping tips with other pros, I've figured out what really matters and what's just hype. Some specialized tools are worth their weight in gold, while others will just gather dust in your garage.
Must-Haves vs. Nice-to-Haves
First things first, a good masonry saw is absolutely essential. You could rent one, but if you're covering a large area, buying a decent saw will save you money and hassle in the long run. Believe me, wrestling with a dull blade leads to chipped veneer and a whole lot of frustration. And speaking of blades, a diamond blade is a game-changer. It slices through stone cleanly and precisely, making your job so much easier. Proper surface preparation is key, and choosing the right underlayment is crucial. This article on roof underlayment types might give you some helpful insights, even though it's focused on roofs, the principles are similar.
Next up, a notched trowel. This unassuming tool is your secret weapon for spreading adhesive evenly. Those notches create the perfect ridges for a strong, lasting bond. Check your adhesive manufacturer's recommendations for the right notch size—it's usually around 1/4" x 3/8" for stone veneer. Now, a grout bag might seem a bit specialized, but it makes grouting so much cleaner and more precise, especially in those tricky corners. It’s way better than wrestling with a trowel and makes cleanup a breeze.
Adhesives and Fasteners: The Unsung Heroes
Choosing the right adhesive is critical. Don't just grab any old mortar off the shelf. Go for a high-quality, polymer-modified mortar specifically designed for stone veneer. It provides superior bonding and flexibility, which is key for preventing cracks and ensuring your siding stands the test of time. As for fasteners, corrosion-resistant screws are a must, especially in challenging climates. Stainless steel or galvanized screws will keep your siding securely in place, no matter the weather.
Workspace Setup: Stay Organized, Stay Sane
Setting up a dedicated workspace can make or break your project. Create a mixing station for your mortar and grout, and keep your tools organized and within easy reach. A few buckets, a wheelbarrow, and a sturdy work platform will transform your workflow from chaotic to controlled. Trust me, a little organization upfront saves a ton of headaches later. And don't forget about safety gear: gloves, eye protection, and a dust mask are non-negotiable. Protect yourself! With the right tools, materials, and a well-organized workspace, you'll be well on your way to a successful stone veneer installation.
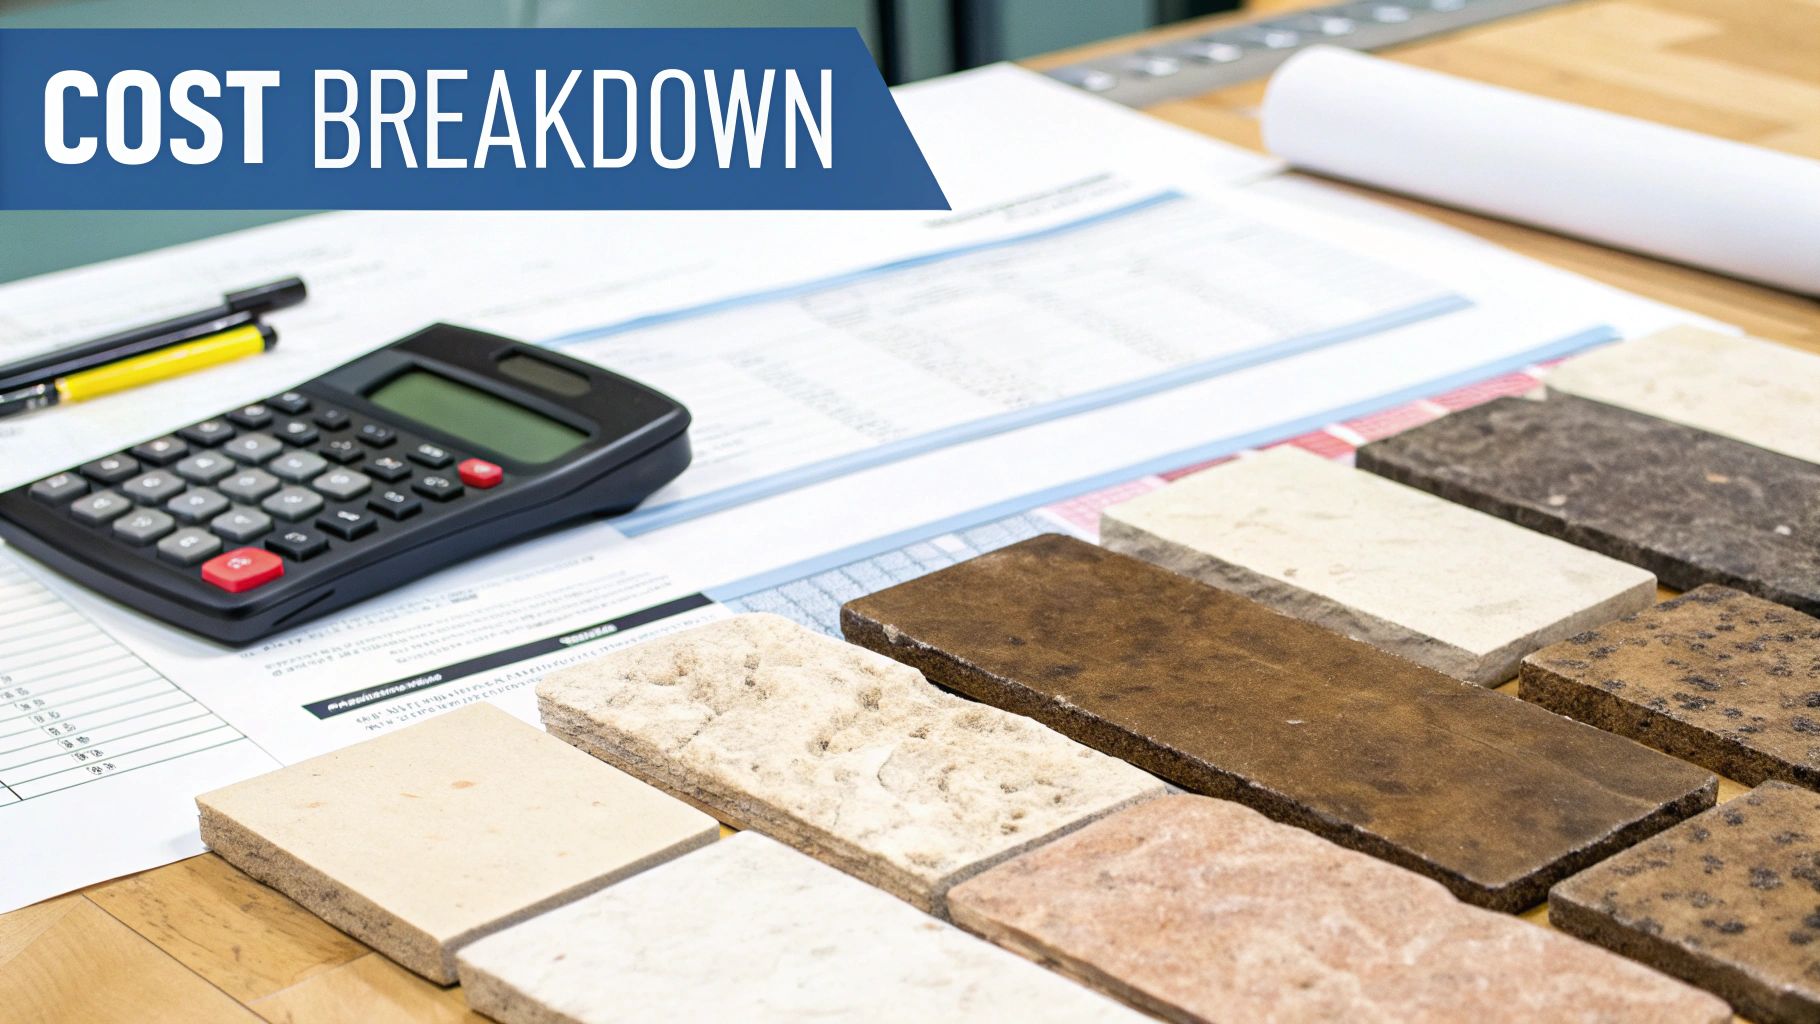
Let's talk about the cost of this project. Understanding the financial side of things is just as important as knowing your tools. I've put together a table to break down the costs for a typical 200 square meter project, comparing a few different approaches.
Stone Veneer Installation Cost Breakdown
Detailed cost analysis showing material and labor expenses for different installation approaches on a typical 200 square metre project
| Cost Component | Traditional Method | Direct-to-Stud Method | Savings Potential |
|---|---|---|---|
| Material Costs | $X | $Y | $Z |
| Labor Costs | $A | $B | $C |
| Total Cost | $X + $A | $Y + $B | $(X + A) – $(Y + B) |
(Note: Replace the placeholder values – $X, $Y, $Z, $A, $B, $C – with actual cost estimates based on current market prices and labor rates in your region.)
As you can see, the Direct-to-Stud method often offers considerable savings, primarily due to reduced labor. However, it's important to consider the specific requirements of your project before making a decision. Sometimes, the traditional method is necessary for structural reasons.
Installation Techniques That Deliver Professional Results
So, you've prepped your surfaces and gathered your materials – now comes the fun part: bringing it all together for a stunning stone veneer transformation. Forget rigid, robotic steps – this is more about understanding the principles and applying them to your project. Let’s start with that all-important first piece.
First Piece Placement: Setting the Foundation
That first piece of veneer? It's more than just a starting point. It's the foundation upon which your entire installation will rest. Think of it like the cornerstone of a building – it needs to be level, secure, and perfectly aligned to ensure everything that follows is straight and true. I always like to begin at a prominent corner or the most visible section of the wall. This sets a visual benchmark and keeps things consistent as you work your way out.
Pattern Planning: Avoiding the "Fake" Look
One of the dead giveaways of a DIY stone veneer job is that obviously repeating, unnatural pattern. You want to avoid that at all costs. The key is to vary your stone sizes and shapes, mimicking the random beauty you see in natural stone formations. Think about creating visual interest with different heights and depths. A pro tip? Lay out a few square meters of the veneer on the ground before you start applying any adhesive. This allows you to play around with different arrangements and get a feel for how the pieces fit together. It's like composing a photograph; you’re looking for balance, proportion, and maybe even a focal point that draws the eye.
Cutting Techniques for a Seamless Fit
Now, let's talk cutting. This is where precision really matters. You'll want a decent masonry saw with a diamond blade for clean, accurate cuts. Mark your cutting lines carefully, paying special attention to areas around windows, doors, and other architectural details. You know the saying: measure twice, cut once! This is where many DIYers get into trouble, and trust me, messy cuts can really ruin the final look. Practice on some scrap pieces first to get the hang of it.
Adhesive Application and Spacing
Choosing the right adhesive is crucial, but applying it correctly is just as important. Use a notched trowel to create ridges in the adhesive. This helps the veneer bond securely to the wall. Another detail that separates a pro job from a DIY attempt? Consistent spacing. It just looks cleaner and more professional. Use spacers or even small offcuts of veneer to maintain uniform gaps. Aim for about 1/4" to 3/8". This gives you enough room for grouting and allows for expansion.
Workflow Management for Efficient Installation
Working with stone veneer is a bit of a race against the clock, especially if you’re using a fast-setting adhesive. To avoid getting stuck with drying adhesive, work in manageable sections. Mix only as much adhesive as you can use within its pot life – that’s the window of time it remains workable. Having an extra set of hands can be a huge help, especially for larger projects. One person can cut and arrange the stone while the other applies the adhesive and sets the pieces. This keeps the workflow moving smoothly and the adhesive wet. Speaking of efficiency, have you looked into the cost differences between traditional stone veneer and direct-to-stud systems like EcoSmart Stone? For a typical Australian home over 200 square meters, the savings can be significant – upwards of $10,000. Learn more at SmartClad.
Finishing Details That Separate Amateur From Professional Work
The final stages of your stone veneer installation are what really make it pop. It’s where the artistry comes in, that extra attention to detail that elevates the project from “DIY” to “Wow!” Grouting, for instance, is about way more than just filling gaps. It's about creating a seamless look that truly complements the stone. Think of it like framing a masterpiece – the right frame enhances the art, a bad one detracts from it.
Grouting and Sealing: Protecting Your Investment
Picking the right grout color is key. You want a shade that complements, not clashes with, the stone. My advice? Test different grout colors in a small, hidden area first. This way, you see how the grout looks with the stone in different light. Once you're happy, apply the grout carefully using a grout bag, making sure it's evenly spread for a clean finish. After the grout cures, sealing is the next critical step. This protects your veneer from moisture, stains, and general wear and tear. For a more in-depth look at sealing, check out Flomary's guide on sealing stone veneer.
Weather Protection and Expansion Joints
Here in Australia, protecting your fresh stone veneer from the elements is essential, especially during curing. Direct sun, rain, and big temperature swings can all affect how the grout cures and the veneer's long-term performance. I often recommend covering the new installation with tarps or plastic sheeting during bad weather. And don't forget expansion joints! These little gaps, usually filled with flexible sealant, allow the materials to naturally expand and contract with temperature changes. They prevent cracking and keep your siding looking great through every season.
Cleaning and Final Inspection
Once everything's cured, it's cleaning time. Use a gentle cleaner and a soft-bristled brush to remove any leftover residue without scratching the stone. Avoid pressure washers – they can damage the grout or even the veneer. For a detailed look at installation best practices, check out this guide on cabinet installation techniques. It highlights some similar principles. Finally, do a thorough inspection. Look for loose stones, gaps in the grout, or any sealant issues. Fix any problems right away to avoid bigger headaches later.
Long-Term Maintenance: Keeping It Beautiful
Keeping your stone veneer looking its best is easier than you might think. A wash with mild soap and water every so often usually does the trick. Avoid harsh chemicals – they can damage the sealant and discolor the stone. Also, regularly inspect your siding for any damage, like cracks or loose stones, and fix them promptly. These seemingly small details make all the difference between a professional-looking job and a DIY attempt. Trust me, taking the time to get these final steps right will give you a beautiful, long-lasting result you’ll be proud of.
Avoiding Expensive Mistakes And Achieving Lasting Results
Let's chat about how to avoid some serious headaches (and wallet-aches) when installing stone veneer siding. I've been down this road a few times, and believe me, you don't want to learn these lessons the hard way. Whether it's a small snag or a complete do-over, understanding the potential pitfalls is the key to a siding job that truly lasts.
Common Mistakes and How to Avoid Them
One of the biggest traps people fall into is skimping on surface preparation. Think of your exterior wall like a canvas: if it’s not clean and properly prepped, your “masterpiece” is going to peel and crack. Make absolutely sure the surface is spotless – no dust, no debris, and definitely no loose bits. Another common mistake? Using the wrong adhesive. That all-purpose construction adhesive might seem like a good idea, but trust me, it's not the right tool for this job. Using an adhesive that's not specifically designed for stone veneer is like using chewing gum to hang a picture – it'll hold for a while, then…disaster.
Here's a real-world example: I once saw a homeowner use construction adhesive instead of proper mortar for their stone veneer. Guess what happened? Within a year, pieces were popping off left and right. It was a painful (and expensive) lesson. Always, always check the manufacturer's specifications – they’ll tell you exactly what adhesive you need. Don't cut corners here.
This photo shows what a professionally installed stone veneer siding job should look like. Notice the clean lines, the even spacing, and how beautifully it complements the house. Achieving this kind of result requires careful planning and attention to detail at every single step.
Weather Considerations and Timing
Let's be honest, Australia’s climate can be brutal. Extreme heat or cold can seriously mess with adhesive curing times and lead to all sorts of issues down the road. Picture this: you install your veneer during a scorching heatwave. The mortar dries too quickly, the bond weakens, and you're setting yourself up for trouble. The sweet spot is mild, dry weather. If you’re facing particularly tough conditions, you might want to consider Flomary's waterproof stone veneer options. They're specifically engineered to handle the challenges of a harsh climate.
DIY vs. Professional: Knowing Your Limits
While DIY projects can be incredibly satisfying, stone veneer installation isn't always a beginner-friendly task. Knowing your own limits can save you a mountain of frustration (and money). If you’re comfortable with basic home improvements, smaller veneer projects might be within your reach. But for larger, more complicated installations, especially those with tricky cuts or uneven surfaces, a professional installer is almost always the best investment. They have the experience and the know-how to tackle any unexpected problems, guaranteeing a top-notch, long-lasting finish.
Long-Term Maintenance for Lasting Beauty
The good news is, maintaining your stone veneer is relatively simple. Regular cleaning with mild soap and water will keep it looking its best. Steer clear of harsh chemicals, as they can damage the sealant. And don’t forget about regular inspections – catching potential issues early can prevent bigger problems later. With a little TLC, your stone veneer siding will look fantastic for years to come.
Transform your home with the timeless elegance and durability of Flomary's ultra-thin stone veneer. Check out their range of products and find the perfect fit for your project at Flomary.cn.
