Installing rock veneer is a project that looks intimidating but is absolutely achievable with the right approach. It's more than just sticking stones to a wall; it's a process of layering. You start by prepping the surface with a moisture barrier and metal lath, followed by a "scratch coat" of mortar. Only then do you begin setting each stone into a fresh mortar bed.
The secret to a professional-looking, long-lasting finish isn't some special trick. It all comes down to careful preparation, getting your mortar consistency just right, and taking your time placing each stone.
Your Blueprint for a Flawless Rock Veneer Project
So, you're ready to transform a space with rock veneer. Fantastic. Before you even open a bag of mortar, let's walk through what a successful DIY project actually involves. This is about building a feature that not only looks incredible but also adds real value and curb appeal to your home for decades.
The best way to tackle a project like this is to break it down into manageable stages. A great installation really comes down to three key phases:
- Serious Surface Prep: This is the bedrock of your entire project, and it’s non-negotiable. It means cleaning the surface, waterproofing it correctly, and installing a lath system that gives the mortar something to permanently bite into.
- Applying Mortar and Setting Stone: This is the creative part where your wall starts to take shape. It’s all about mixing your mortar to the perfect peanut-butter consistency and "back-buttering" each stone for a solid bond.
- Grouting and Finishing: The final touches are what make or break the look. Grouting the joints and cleaning the stone faces are what separate a sloppy, amateur job from a stunning, professional one.
Getting in the Right Mindset
Think of this as your project kickoff meeting. We’re setting the expectations and adopting the right mindset for a great result. It's no surprise that more homeowners are taking on this project themselves. Stone veneer has exploded in popularity, and the market reflects that.
The global stone veneer market was valued at around USD 731.5 million and is expected to climb to USD 1009.9 million. That growth is largely driven by its use in renovations just like this one. You can learn more about the growing preference for stone veneers in modern construction.
Here’s a piece of hard-won advice: this isn't a race. The single biggest mistake I see DIYers make is rushing through the prep work. Give yourself plenty of time for each step and, most importantly, allow the mortar to cure properly between stages. Patience here pays off with a wall that will literally last a lifetime.
To help you plan, let's look at a realistic timeline.
Rock Veneer Installation At a Glance
Here’s a quick summary to give you a bird's-eye view of the key phases and how much time you should set aside for a typical installation.
| Project Phase | Key Objective | Estimated Time (for a 100 sq. ft. wall) |
|---|---|---|
| Preparation | Clean, waterproof, and install metal lath for a secure base. | 4-6 hours |
| Mortar & Stone Setting | Apply scratch coat, then set stones with proper spacing. | 6-10 hours |
| Grouting & Finishing | Fill joints, tool the grout, and clean the stone surfaces. | 4-6 hours |
Remember, this timeline is for hands-on work. It doesn't include the crucial 24-48 hour curing period you’ll need after the scratch coat and again after setting the stones. Plan for that downtime from the very beginning so you aren’t tempted to rush the most critical steps of the whole project.
Getting Your Tools and Materials Ready for the Job
Any seasoned pro will tell you that a top-notch rock veneer installation starts way before the first stone ever touches the wall. The real secret to success lies in getting your prep work right, and that means having every single tool and material you need lined up and ready to go.
Think about it – there’s nothing worse than having to stop mid-project, covered in mortar, to run to the hardware store for something you forgot. Getting organized first not only saves you a headache but also makes the entire process smoother and more enjoyable. The quality of your finished wall is a direct reflection of the time you put in at the beginning.
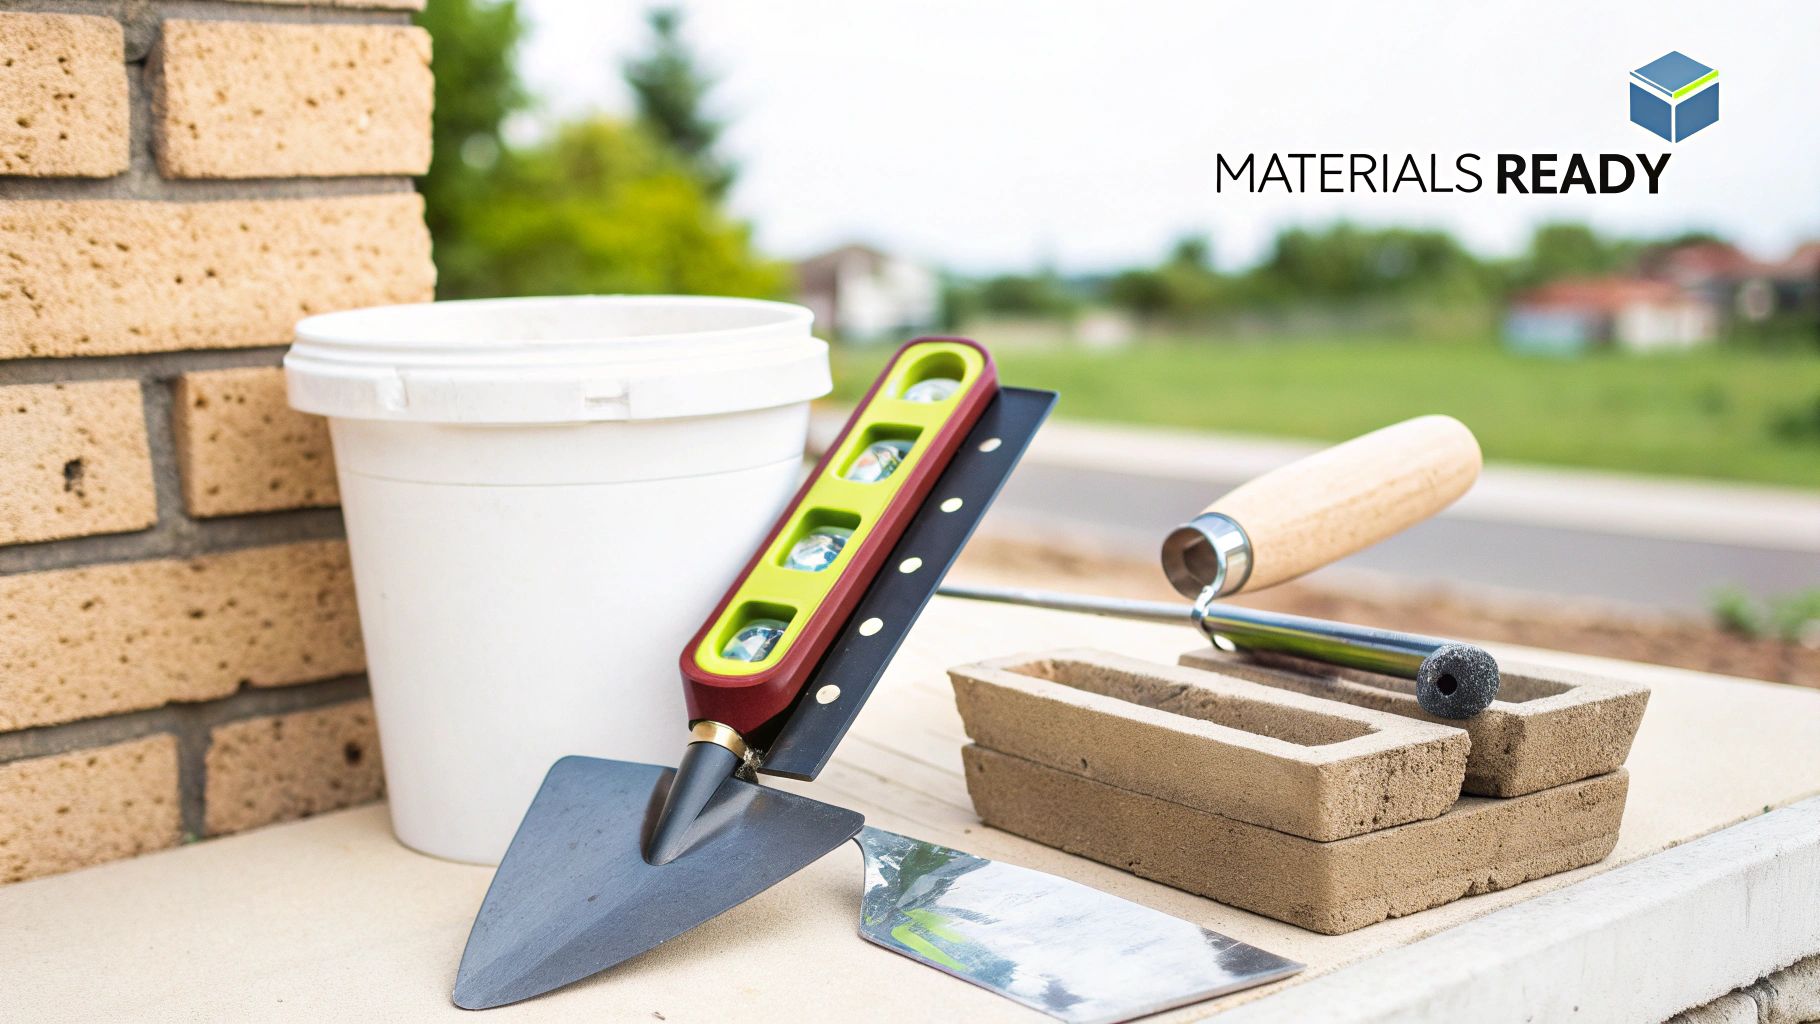
What You'll Need for a Rock-Solid Foundation
Let's start with the materials. These are the building blocks of your project, and skimping here isn't an option if you want your wall to last for decades.
Here's the essential shopping list:
- Rock Veneer: First, measure your project area to get the total square footage. Then, order 10-15% extra. Trust me on this one. You’ll need it for cuts, any accidental breaks, and you'll be glad you have a few extra pieces stashed away for future repairs. If you're still deciding on a look, you can check out the different types of stone veneer available to find one that matches your vision.
- Weather-Resistant Barrier (WRB): This is non-negotiable for exterior walls or any indoor space that might see moisture, like a bathroom or basement. You’ll want two layers of Grade D building paper (or a quality house wrap) to keep moisture from ever reaching your home's structure.
- Metal Lath: This metal grid is what gives the mortar something to really bite into. Always go for galvanized or stainless steel lath to avoid rust issues down the road, especially for outdoor projects.
- Type S Mortar: This is critical. Type S mortar is specifically engineered for the weight and adhesion requirements of stone veneer. Do not be tempted to use construction adhesive or any other type of glue. They simply won't hold up, and your stones will eventually fail—not to mention it will void your warranty.
The Right Tools Make All the Difference
Once you've got your materials, it's time to raid the garage and see what tools you need. You probably have some of these already, but a few specific items will make your life a whole lot easier and give you that professional finish.
The Must-Have Tools:
| Tool | Why You Need It |
|---|---|
| Tape Measure & Level | For getting your layout perfect and keeping your rows of stone perfectly straight. |
| 5-Gallon Buckets | Get at least three. One for clean water, one for mixing mortar, and a third for cleanup. |
| Heavy-Duty Drill with a Paddle Mixer | Seriously, don't try to mix mortar by hand. It's a killer workout and you'll never get the right consistency. A paddle mixer does the work for you and guarantees a smooth, lump-free batch every time. |
| Pointed Trowel & Margin Trowel | The larger pointed trowel is your workhorse for applying the scratch coat. The smaller, more nimble margin trowel is perfect for "back-buttering" individual stones. |
| Grout Bag | Think of it like a heavy-duty pastry bag. It’s the cleanest and most efficient way to get grout deep into the joints without making a huge mess. |
| Stiff-Bristled Brush & Soft Brush | The stiff brush is for scrubbing your tools clean. The soft one is for gently brushing away loose mortar dust from the stone faces before it dries and stains. |
A big question I always get is whether to buy or rent a saw. Here's my take: for a small accent wall with just a handful of cuts, a simple angle grinder will do the trick. But if you’re tackling a bigger project or have tricky cuts around windows or outlets, renting a wet saw for the day is money well spent. You'll get faster, cleaner cuts and a much better result.
Tools for Cutting and Shaping Your Stone
It’s a rare day when every stone fits perfectly out of the box. You're going to have to make cuts, and having the right tool is the difference between a clean, tight fit and a sloppy-looking joint.
Here are your best options:
- Angle Grinder with a Diamond Blade: This is a fantastic, all-around tool. It's affordable, and great for making straight cuts. You can also use it to shave down the back of a stone that’s a little too thick or won't sit flat against the wall.
- Masonry Wet Saw: This is what the pros use, and for good reason. The water-cooled blade cuts through stone like butter, eliminates dust, and gives you incredibly precise, clean edges. It’s the best choice for jobs that demand a high-end finish.
- Hammer and Masonry Chisel: If you’re going for a more rustic, old-world look, you can shape your stones by hand. It takes a bit of practice to get the feel for it, but the resulting organic, hand-hewn edges can be absolutely stunning.
Taking the time to gather these tools and materials before you start is the most important step. It puts you in control of the project and sets the stage for a smooth, rewarding installation you’ll be proud of for years to come.
Preparing Your Surface for an Unbreakable Bond
Let's be honest—the prep work is the least glamorous part of any stone veneer project. But I can tell you from experience, even the most beautiful stonework is destined to fail if the wall beneath it isn't ready. This foundational stage is where your attention to detail pays off, ensuring your installation stays locked in place for decades.
Think of it like a painter prepping a canvas. A flawless masterpiece requires a solid, primed surface. We'll walk through how to get any wall—from bare cement board to old painted brick—ready for an unbreakable bond with your new stone.
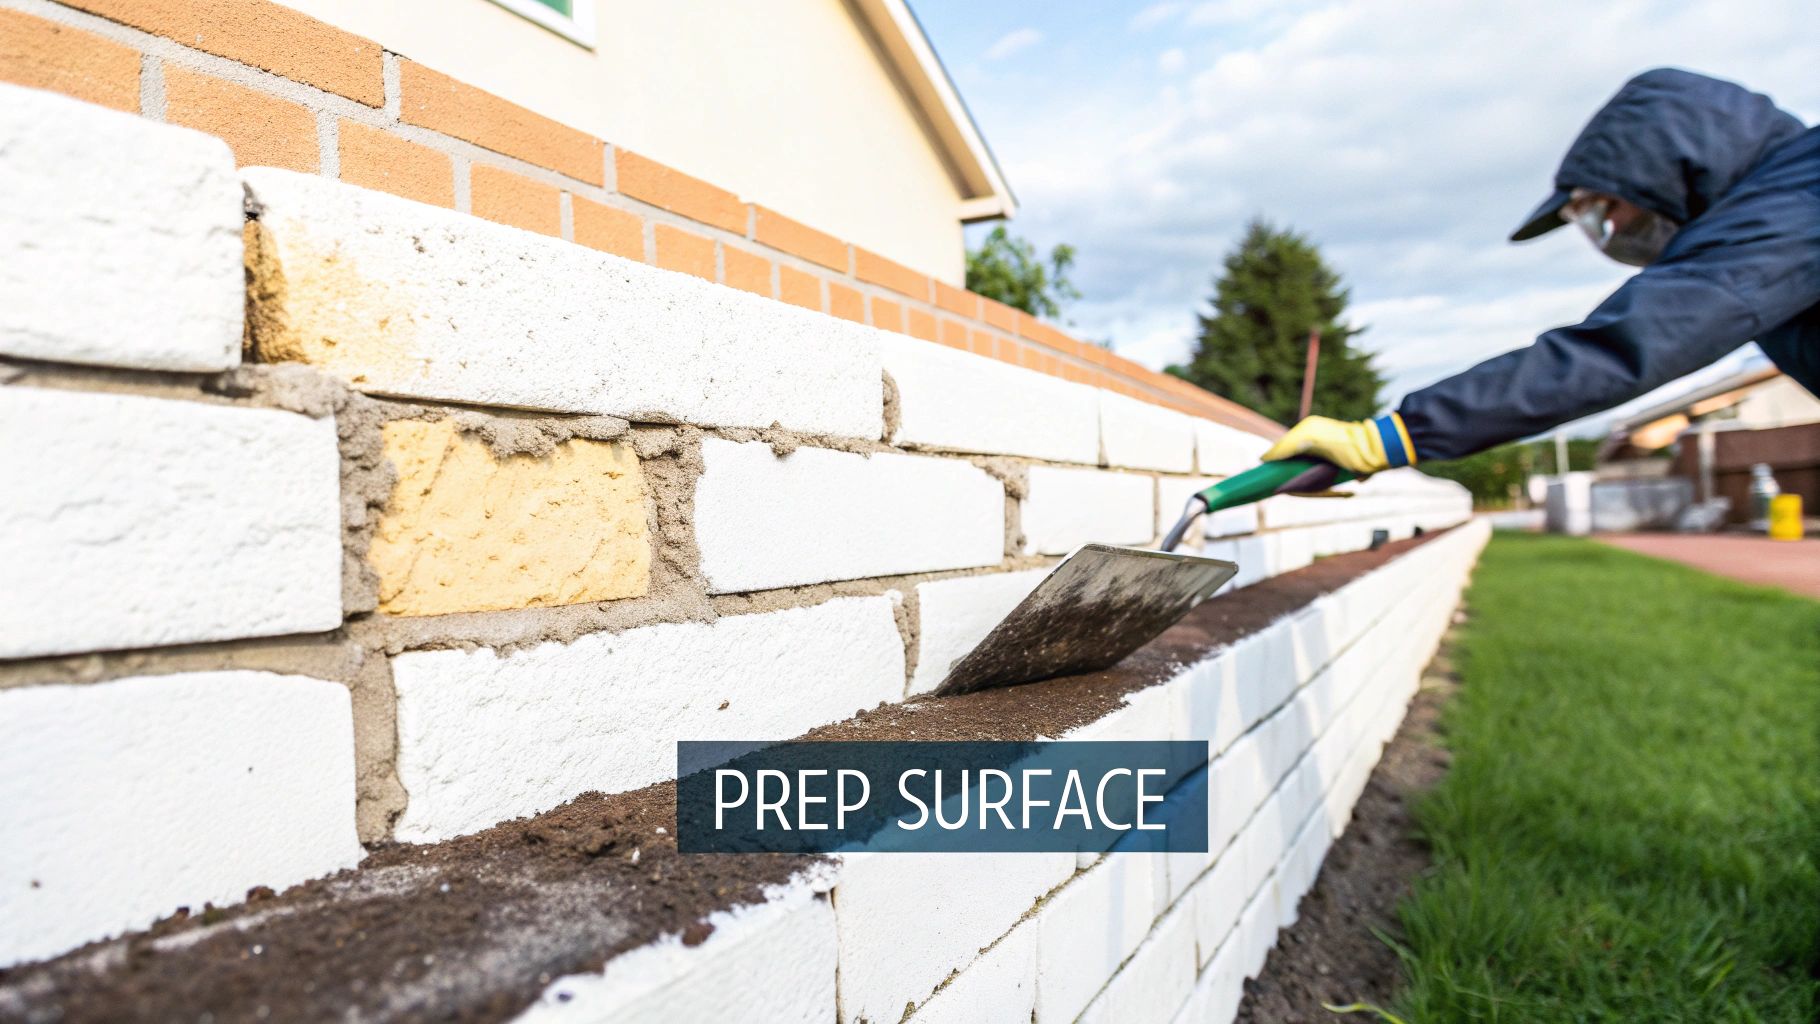
First, Know Your Substrate
Before you do anything else, you need to figure out exactly what you're working with. Different surfaces demand slightly different prep to get that mortar to stick and stay put.
The absolute best-case scenario is an unpainted, unsealed surface like concrete, cement backer board, or brick. These materials are naturally porous and give the mortar plenty to grab onto. If that's what you have, you're already halfway there.
Of course, most of us are working with less-than-ideal surfaces like drywall, plywood, or painted masonry. No problem. They just require a couple of extra steps to build a proper foundation.
Prepping Common Surfaces
Let’s get into the nitty-gritty for different wall types. The goal is always the same: create a surface that is clean, solid, and has enough texture for the mortar to bite into.
For Unpainted Masonry or Cement Board:
- Give the entire surface a good, thorough cleaning. I use a stiff brush and plain water to scrub off any dust, grime, or loose bits.
- If you spot any efflorescence (that white, chalky stuff), hit it with a 50/50 mix of white vinegar and water. Scrub it off, then rinse the wall completely. The mortar needs a perfectly clean surface to bond.
For Painted Surfaces or Drywall:
- Paint seals the surface, making it too slick for mortar to adhere to. You absolutely must install a metal lath first. This creates a mechanical "key" that the mortar can physically grip.
- On interior drywall, you'll drive screws through the lath and the drywall, anchoring it securely into the wall studs. This provides the structural support you need.
Applying the Weather-Resistant Barrier
For any exterior job—or even an interior one in a high-moisture area like a bathroom or shower—a weather-resistant barrier (WRB) is non-negotiable. Skipping this step is asking for water damage inside your walls.
Your goal here is to create a drainage plane, a path for any moisture that gets behind the stone to travel down and out, away from your wall structure.
- Start by applying two layers of Grade D building paper or a quality house wrap.
- Work from the bottom up, overlapping each new layer by at least 2 inches over the one below it. Think like you're installing roof shingles.
- All your vertical seams need to overlap by a minimum of 6 inches. This shingling effect is what makes the whole system work.
Getting the substrate dry and protected is everything. For more detail, check out this comprehensive guide to waterproofing materials to really ensure you get an unbreakable bond.
Installing Metal Lath for Maximum Grip
Metal lath is essentially a galvanized steel mesh that acts like rebar for your mortar. It gives the mortar something solid to wrap around and hold onto, creating that ironclad connection between the stone and the wall.
When you hang the lath, make sure the little cups or dimples in the mesh are facing up and angled away from the wall. This creates thousands of tiny shelves for the mortar to hang from. Use galvanized fasteners to attach the lath every 6 inches vertically, driving them straight into the studs.
Pro Tip: Always overlap the sheets of lath by at least 1 inch on all sides. Never just butt the edges together. Overlapping creates a single, continuous grid across the wall and eliminates any potential weak spots between the sheets.
This whole process has become much more straightforward with modern materials. The ultra-thin stone veneer market, for example, is projected to grow from USD 1.3 billion to USD 2.6 billion, with a CAGR of 8.9%. These veneers, often just 2-5 millimeters thick, are incredibly lightweight, which means you can often install them on existing structures without needing major reinforcement.
Taking your time here, on the prep work, is what separates a professional-looking job from a failure. It’s the behind-the-scenes effort that guarantees your stunning new wall will stand the test of time.
The Art of Mixing Mortar and Setting Stones
This is where the project really starts to take shape. With your surface fully prepped, you're moving from the foundational work to the craft of actually setting the stone. It’s a process that’s part science, part feel, and it’s where your vision for the wall finally comes to life.
We're going to get into the specific techniques that make the difference between an amateur job and a professional-grade finish you can be proud of for years to come. From getting the mortar just right to applying the all-important scratch coat, every detail matters.
Getting the Mortar Mix Just Right
Think of your mortar as the high-performance adhesive holding everything together. Getting the consistency right is non-negotiable. What you're looking for is a creamy, smooth texture—most old-school masons will tell you it should feel like thick, natural peanut butter. It needs to be firm enough to hold its shape on your trowel but just wet enough to spread easily and create a powerful bond.
Stick with a Type S mortar. It’s specifically engineered to handle the weight and adhesion requirements of stone veneer. Never, ever be tempted to use construction adhesives or other types of glue. They simply don't have the structural integrity for this job and will eventually fail, which will also void your product warranty. A good rule of thumb is to mix only what you can use in about an hour, because after that, it'll start to set up and become unworkable.
A Pro's Takeaway: The most common rookie mistake is dumping in too much water at once. You end up with a soupy, weak mix that won't hold the stone. Start with less water than you think you need and add it slowly while using a paddle mixer. If the mortar slides right off a vertical trowel, it's too wet. If it’s crumbly and a pain to spread, you know it's too dry.
If you run into issues, don't panic. Getting a feel for mortar takes a bit of practice. Here's a quick guide to help you troubleshoot some common problems you might encounter.
Mortar Mix Troubleshooting Common Issues
| Problem | Likely Cause | How to Fix It |
|---|---|---|
| Too Soupy or Wet | Too much water added initially. | Add more dry mortar mix, a little at a time, until the desired consistency is reached. |
| Too Dry or Crumbly | Not enough water. | Add water very slowly—a few ounces at a time—and mix thoroughly until it's smooth. |
| Stiffening Too Quickly | Mix is old, or it's a hot/windy day. | Mix smaller batches. You can "re-temper" the mortar once by adding a tiny bit of water and re-mixing. |
| Poor Adhesion | Mortar is too dry, or the substrate is too absorbent. | Ensure a proper peanut-butter consistency. Lightly mist a very dry scratch coat before applying fresh mortar. |
Getting the mix right from the start saves a lot of headaches, so take your time with this step.
Applying the Scratch Coat
Before you even think about placing a stone, you need to apply a "scratch coat." This is simply a base layer of mortar, about 3/8 to 1/2 inch thick, that you apply directly over the metal lath. The whole point is to completely embed the lath, creating one solid, concrete-like surface for your stones to stick to.
Using firm pressure, work the mortar into the lath, making sure you eliminate any air pockets or voids. Once the area is covered, grab a notched trowel or a scarifier rake and scratch horizontal grooves into the wet mortar. This creates a rough, keyed surface that gives the next layer of mortar an incredible mechanical grip. Now, you have to be patient. Let this scratch coat cure for a solid 24 to 48 hours, or until it's hard to the touch.
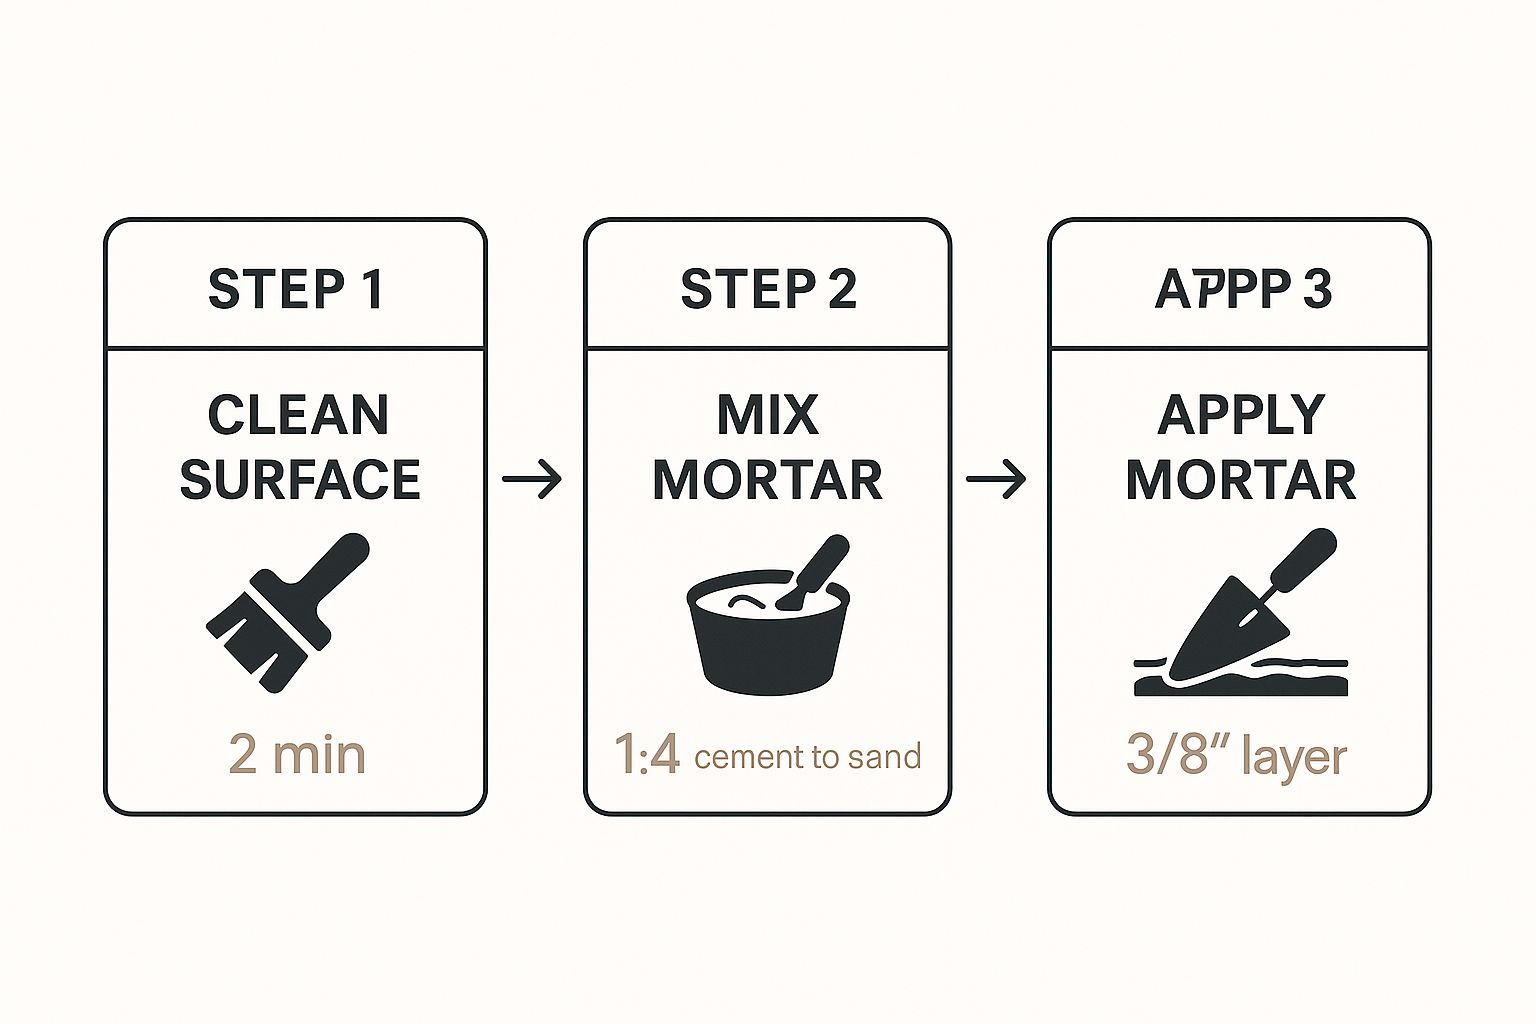
As you can see, maintaining that consistent thickness for both the scratch coat and the setting bed is fundamental to a strong, long-lasting installation.
Laying Out Your Stones for a Natural Look
Now for the fun part. Before mixing your next batch of mortar, lay out a good section of your stones on a tarp near the wall. This is called "dry-fitting," and it’s your chance to act like an artist. Arrange the different sizes, shapes, and colors until you have a pattern that looks balanced and natural.
- Mix It Up: Always pull stones from several different boxes at once. This ensures you get a good blend of colors and textures and avoid any weird "patchy" sections.
- Avoid Patterns: The goal is a random, natural look. Consciously look for and break up any unintentional patterns, like clustering too many small stones or creating obvious horizontal lines.
- Plan for Corners: Always start your installation at the outside corners and work your way in. The corner pieces are L-shaped and designed to create the illusion of a full-bed stone wall.
The Art of Back-Buttering and Setting
With your scratch coat fully cured and your layout planned, it's time to start setting stone. Trowel a fresh layer of mortar, about 1/2 inch thick, onto a small section of the wall—only cover an area you can comfortably work on in the next 20-30 minutes.
Grab your first stone and "back-butter" it. This is the most critical technique for a successful bond. Using your trowel, apply a 1/2-inch layer of mortar to the entire back surface of the stone, making sure it's covered from edge to edge. This full coverage prevents any hollow spots that could trap water and lead to failure, especially in freeze-thaw climates.
Press the buttered stone firmly into the mortar on the wall, giving it a slight wiggle as you push. You want to see a little bit of mortar squeeze out around the edges; that's the sign of a perfect, solid bond. Keep a level handy and check your work every few rows to keep things looking straight, even with an irregular pattern.
Making Precision Cuts
Sooner or later, you're going to need to cut a stone to fit around a window, an electrical outlet, or along a roofline. The quality of these cuts can make or break the professional look of your project. For a complete rundown, our guide on the best way to cut stone veneer covers everything you need to know.
For the cleanest edges, nothing beats a wet saw or an angle grinder fitted with a diamond blade. Measure twice, mark your stone, and make your cut. Always dry-fit the cut piece into the gap before you apply any mortar to ensure it's a perfect fit. If you're going for a more rustic aesthetic, you can also use a hammer and chisel to shape stones, which creates a more organic, hand-hewn edge. Taking your time on these final detail cuts is what truly elevates the job.
Finishing Your Project with Grout and Sealant
Getting that last stone in place feels incredible, doesn't it? But hold the celebration for just a bit. The next steps—grouting and sealing—are where the real artistry comes in. This is what separates a good-looking job from a truly professional one, transforming a collection of individual stones into a single, cohesive feature wall.
The secret is all in the details: filling the joints cleanly, timing your work just right, and finishing everything off to protect your hard work for years to come.
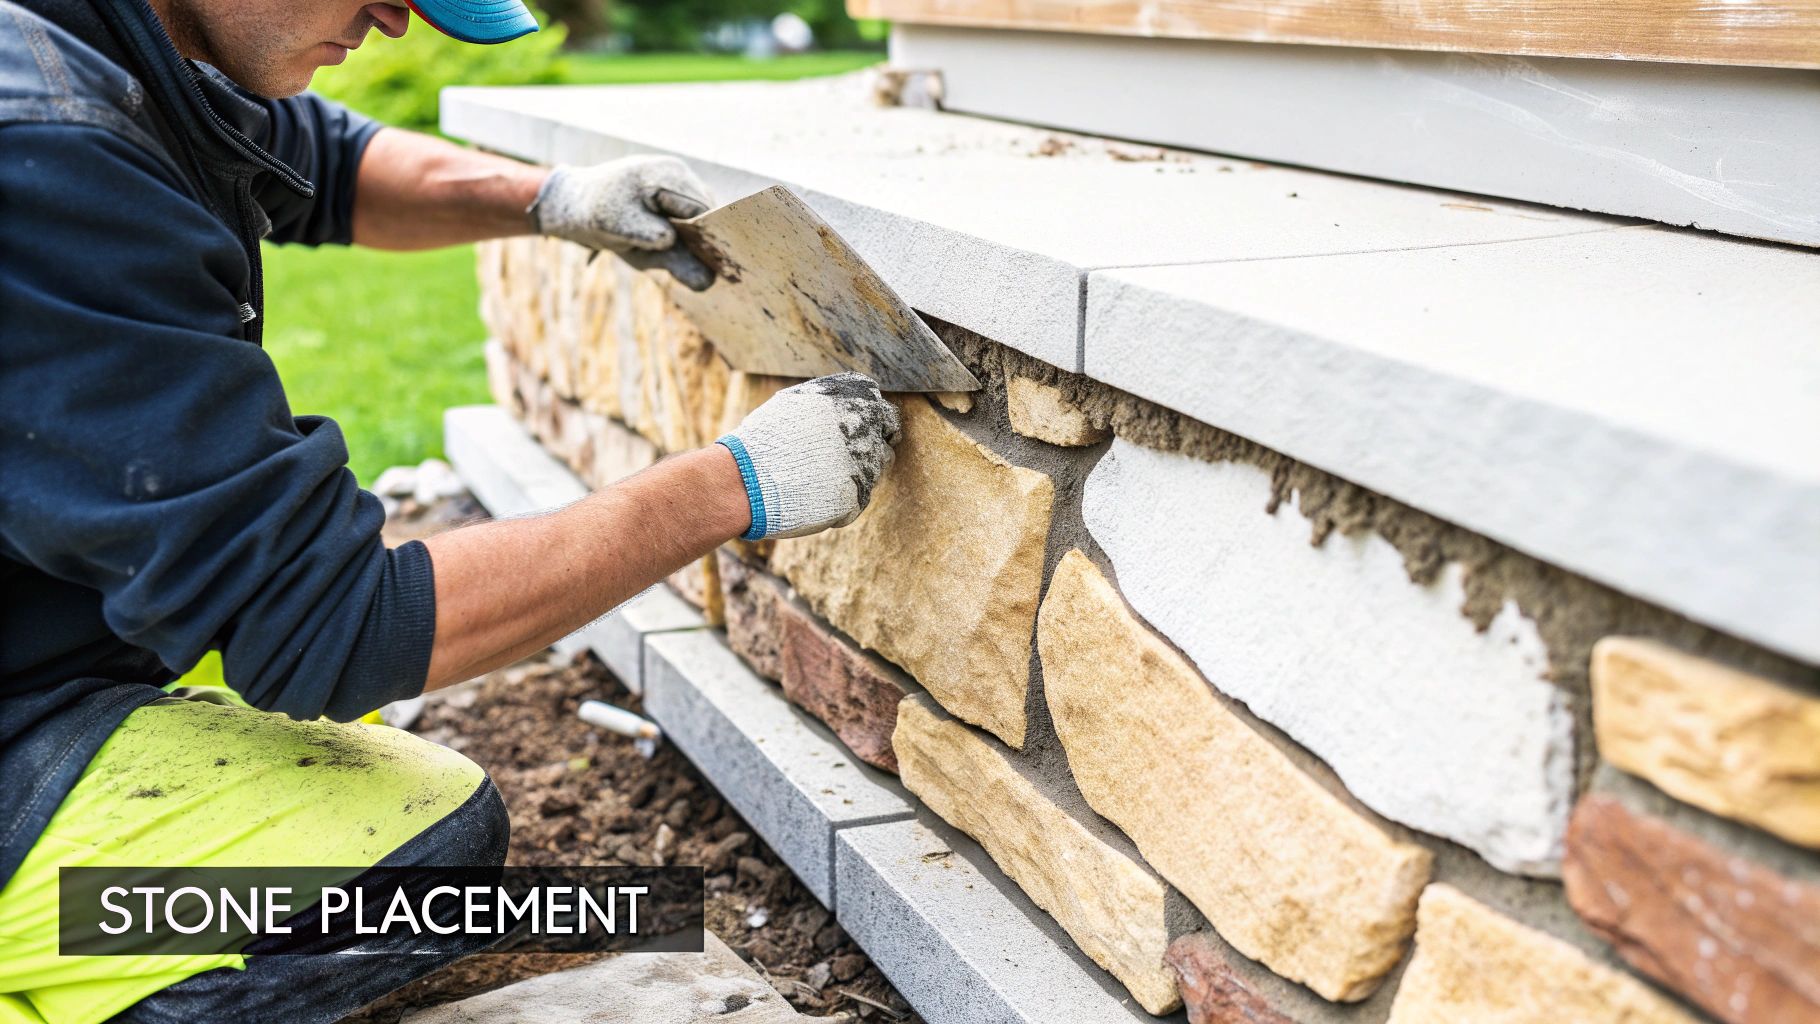
This final stage is all about finesse. Let's walk through the techniques I've picked up over the years to get a perfect finish without making a mess.
Getting the Grout in: Your Technique Matters
How you actually get the grout (or mortar) into the joints has a huge impact on the final look and, just as importantly, the amount of time you'll spend cleaning up later. You've really got two solid options here.
-
The Grout Bag: Honestly, for most people, this is the way to go. Think of it like a heavy-duty piping bag for a baker. It lets you squeeze the grout deep into the joints with a ton of control. This means less slop on the face of the stone, which is a massive time-saver. It's perfect for a crisp, clean look where you want the shadow lines to really stand out.
-
Trowel and Hawk: This is the old-school mason's approach. You load up a flat board (the hawk) with mortar and use a small pointing trowel to push it into the joints. It takes some practice to get the hang of it without dropping mortar everywhere, but it's the best way to achieve that "over-grout" or rustic look where the grout is almost flush with the stone.
Your choice really comes down to the style you're after. For a clean, modern vibe, grab a grout bag. If you’re aiming for something more rustic and time-worn, learning the trowel method is worth the effort.
Striking the Joints for the Perfect Look
Once you've filled a section of joints, you can't just walk away. You have to wait for the grout to set up to a "thumbprint hard" state. That means you can press your thumb into it and it leaves an impression but doesn't stick to your finger. This is the magic window for "striking" the joints to get the exact texture and depth you want.
The tool you use will shape the final character of the wall:
-
Deep Raked Joints: Want to really emphasize the individual stones and create dramatic shadows? Use a jointing tool or even just a piece of a wooden dowel to rake out some of the grout. You're aiming to leave the grout line recessed by about 1/2 an inch from the stone's face.
-
Flush Joints: For a smoother, more unified look where the stone and grout feel more like a single surface, you'll want the grout to be almost level with the veneer. A flat jointer or a margin trowel will help you smooth it out nicely.
-
Brushed Finish: After striking the joints, my favorite trick is to take a soft-bristled brush and gently sweep over them. This knocks off any little crumbs of mortar and gives the grout a slightly sandy, more natural texture.
Timing is everything here. If you strike the joints when the grout is too wet, you'll just make a smeary mess. If you wait too long, the grout will be hard as a rock and impossible to shape. Always work in smaller, manageable sections so you never miss that perfect window.
The Final Clean-Up
No matter how careful you are, you're going to end up with some "mortar haze" on the stones. It's just part of the process. After the grout has had at least 24 hours to cure, it's time for the final cleanup.
I usually mix a bit of specialized masonry cleaner (or even a heavily diluted vinegar solution) with water and use a stiff nylon brush. Scrub gently—you want to lift that dusty film off the stone without digging into your fresh grout lines.
This is the most rewarding step. As you clean, the true colors and textures of the stone will finally pop, revealing the stunning wall you've worked so hard to create. Maintaining that look is just as important; you'll find that many of these tips for natural stone floor cleaning are surprisingly useful for veneer walls, too.
The Great Debate: To Seal or Not to Seal?
The last decision you have to make is whether to apply a sealer. For our ultra-thin stone veneer, a good silane/siloxane sealer is a great choice because it protects against stains and moisture without creating a fake-looking shiny film.
You can dive deep into this topic with our guide on sealing stone veneer. As a general rule, I always recommend sealing exterior projects, any wall in a high-moisture area like a bathroom, or a kitchen backsplash that's going to get hit with grease and food splatters. It’s a simple final step that protects your investment.
Answering Your Top Rock Veneer Installation Questions
Even the most carefully planned DIY project will throw a curveball or two. And when you’re working with something as permanent as stonework, you want to be absolutely sure you’re making the right calls. I’ve put together answers to the most common questions I get from folks installing rock veneer, so you can tackle any challenge that comes your way.
These are the kinds of questions that pop up right when you're in the thick of it, and knowing the answers is what separates a decent job from a stunning, professional-looking finish that lasts.
Can I Install Rock Veneer Directly Over Drywall or Plywood?
This is, without a doubt, the question I hear most often. The short answer is a hard no. While you could stick a stone to drywall, it’s a recipe for failure down the road. Neither drywall nor plywood has the strength or moisture resistance to create a lasting bond with mortar.
A solid, properly prepared substrate is non-negotiable. Here's how you should approach it:
- Interior Drywall: At the very least, you need to cover the drywall with a metal lath, making sure you screw it securely into the wall studs. This lath gives the mortar something to physically grab onto.
- Exterior Walls or Plywood: A weather-resistant barrier is an absolute must. You'll install that first, then cover it with metal lath. Don't even think about skipping this on an exterior project.
- The Pro-Grade Method: If you want the best possible foundation for your stone, use a cement backer board. It’s completely waterproof and gives the mortar the perfect surface to bond to.
The most frequent—and costly—DIY mistake I see is rushing the surface preparation. People get excited to set stones and skimp on cleaning the wall, installing the moisture barrier, and properly securing the lath. A weak foundation will lead to bond failure, causing stones to loosen or fall off over time.
What’s the Best Temperature for Installation?
Weather has a much bigger impact on your project than you might think. Mortar is a cement product, and temperature extremes can wreak havoc on its curing process. You're looking for a sweet spot between 40°F and 90°F (4°C and 32°C).
Trying to work outside that window is asking for trouble. If it's too hot, the water in your mortar will evaporate before the cement can properly hydrate, leaving you with a weak, crumbly bond. On the other hand, if it’s too cold, the water can freeze, which completely stops the curing reaction and ruins the mortar's integrity. Always check the forecast.
How Long Before I Can Start Grouting?
This is where patience really pays off. Once all your stones are set in the mortar bed, you have to let that mortar cure before you can even think about grouting. I recommend waiting a minimum of 24 to 48 hours.
This waiting period is critical. It ensures the stones are locked in place and won't wiggle around while you're packing grout into the joints. If you're working in a cool or humid environment, definitely lean toward the 48-hour mark, or maybe even a little longer.
A good old-fashioned tap test works wonders. Gently press on a few stones; if they feel rock-solid with absolutely no movement, you're good to go.
Ready to reimagine your space with the timeless beauty of natural stone? Discover the lightweight, flexible, and eco-friendly solutions from Flomary Group. Our ultra-thin stone veneers make professional-grade results achievable for any project. Explore our collection and get your free quote today!
