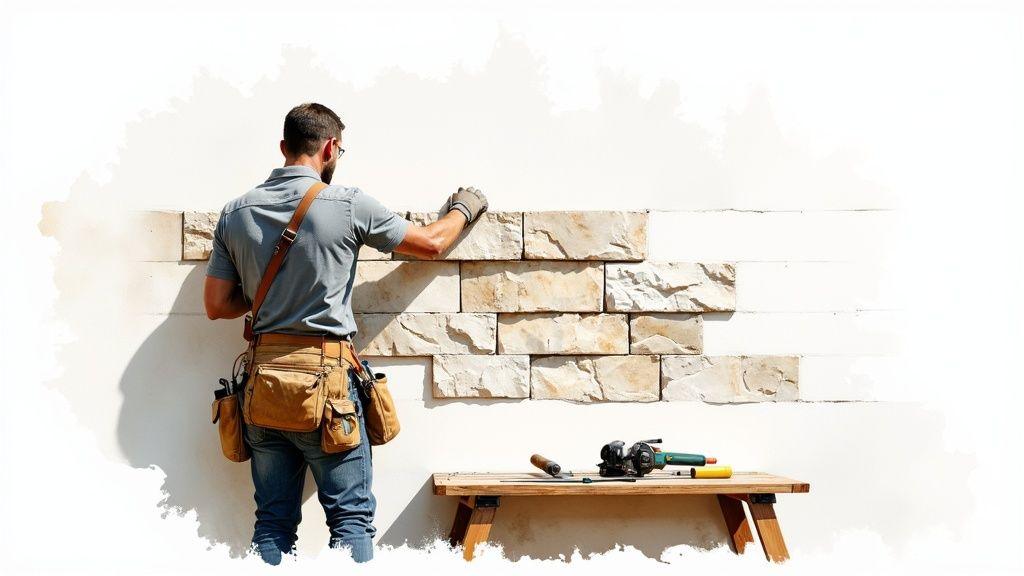
The secret to getting that high-end, professionally finished look? It's all in the dry stacking stone veneer. This technique creates a seamless, modern wall by fitting stones together so tightly that you see no mortar at all. It's a method that lets the natural texture and shadow lines of the stone do all the talking, instantly elevating a space from ordinary to exceptional.
Why Everyone Loves the Dry Stack Look
Dry stacking is so much more than a fleeting design trend; it’s a timeless architectural statement that perfectly marries rugged, natural appeal with clean, modern style. Instead of messy mortar joints filling the gaps, each stone is carefully set to create a tight, interlocking surface. That's what gives a fireplace, accent wall, or home exterior its authentic, premium feel.
Think about turning an old, tired brick fireplace into a stunning modern centerpiece. With our exclusive lines of manufactured stone veneer panels at Flomary Group, like the rugged Mountain Ledge series or the sleek Modern Cut panels, that vision is completely within reach. You get all the rich texture and color variation of real stone without the back-breaking weight or the complicated masonry work.
It's All About the Visuals
Let's be honest, the main reason people choose dry stacking is because it looks incredible. When you get rid of the grout lines, all the attention goes directly to the stone—its unique color, its texture, and its shape. This creates a much more dynamic surface where light and shadow become a key part of the design.
Here’s why it works so well:
- More Texture, More Depth: Without mortar breaking up the pattern, the natural shadows created by the edges of each stone give the wall a real sense of depth and dimension. It just feels more substantial.
- A Clean, Unbroken Surface: The tight fit from stone to stone gives you a continuous flow that looks fantastic in both contemporary and rustic homes.
- An Authentic, Hand-Crafted Feel: The look pays homage to the traditional dry-laid stone walls you see in historic buildings, which adds a sense of permanence and true craftsmanship to your project.
More Than Just a Pretty Face: Durability and Easy Upkeep
While the aesthetics are a huge draw, the practical side is just as strong. Our Flomary dry stacking stone veneer is engineered to last and designed for easy living. Once it's installed the right way, it requires almost no upkeep.
Since there are no exposed mortar joints, you can forget about the cracking, crumbling, or discoloration that often plagues traditional grouted stonework down the road.
The real magic of dry stacking is its blend of high-impact style and low-maintenance strength. It's a design choice that looks amazing the day it's finished and continues to look just as good for decades with almost no effort.
This incredible durability is a big reason the market is booming. The global dry stack stone veneer market hit a value of roughly USD 1.84 billion in 2024, all driven by the demand for beautiful, hassle-free siding and wall coverings. With a year-over-year segment growth rate hovering around 27%, it’s obvious that homeowners and builders alike see the long-term value. For anyone curious about the structural roots of this style, learning about building retaining walls the right way provides some great background.
Finally, let's talk about cost. When you look at the whole project, Flomary manufactured veneer often comes out ahead of full-bed natural stone. The material is lighter, which cuts down on shipping costs, and the installation is much faster, saving you a bundle on labor. By exploring the different types of stone veneer we carry, you can find a premium, custom look that actually fits your budget.
Getting Your Gear and Stone Ready for Action
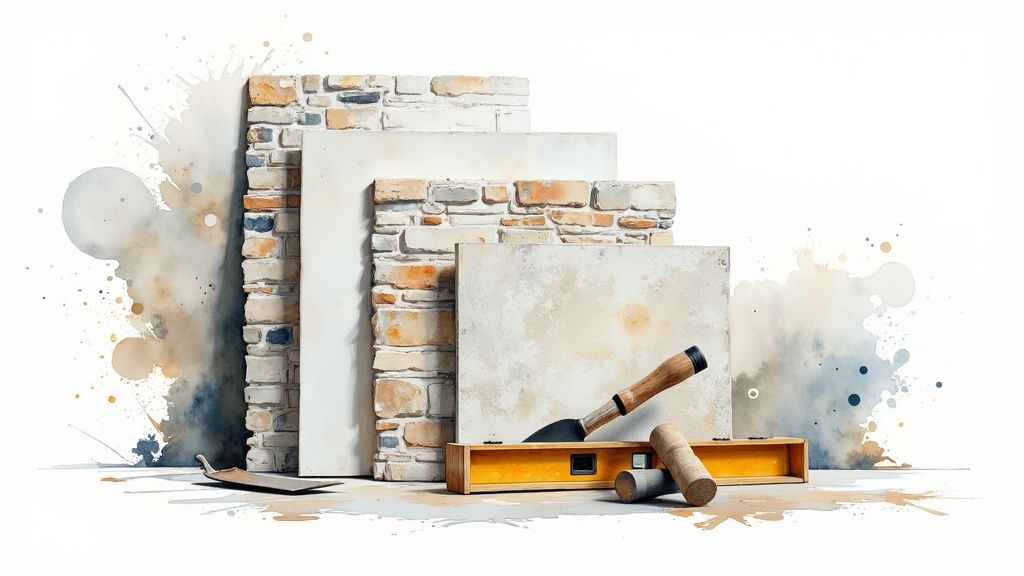
I've seen it a hundred times: a stunning dry stack veneer project lives or dies by the quality of the tools and materials used. Trying to cut corners on either one is a recipe for frustration and a finished product that just doesn't look right. Think of this as your prep phase—get it right, and the rest of the job flows smoothly.
Before you even think about mixing mortar, get your workspace organized. Having everything from your level and trowel to your angle grinder right where you need it prevents those constant, momentum-killing trips back to the garage. A clean, organized site is the sign of a pro, and it makes the entire process far more enjoyable.
The Essential Toolkit for Your Dry Stack Veneer Project
Every project has its own quirks, but a solid toolkit is non-negotiable if you want results you can be proud of. This table breaks down the essentials, from the bare minimum to the pro-grade gear we recommend for a flawless finish.
| Tool or Material | Primary Use | Pro-Tip and Our Recommended Product |
|---|---|---|
| Safety Gear | Eye and hand protection | Non-negotiable. Stone dust and sharp edges are no joke. Grab quality safety glasses and heavy-duty gloves. |
| Tape Measure & Level | Ensuring accurate layout and straight courses | A 4-foot level is your best friend here. It ensures your lines are perfect across multiple stone panels. |
| Angle Grinder | Cutting stone panels to size | Equip it with a diamond blade for clean, sharp cuts. A wet saw is a great upgrade for big jobs to keep dust down. |
| Notched Trowel | Applying adhesive evenly | The right notch size ensures you get a consistent, strong bond. Pair it with Flomary Polymer-Modified Adhesive for a guaranteed hold. |
| Wire Brush | Cleaning stone surfaces before application | Removes any loose debris or dust from the back of the veneer, which is critical for proper adhesion. |
Having the right equipment isn't just about making the job easier; it's about getting a result that looks incredible and stands the test of time.
A precise cut from a quality blade or a perfectly level line is what separates a DIY-looking job from a truly breathtaking, professional installation.
Choosing Your Signature Stone
Now for the fun part—picking the stone that brings your vision to life. At Flomary Group, we've poured our expertise into creating stone veneer collections with distinct personalities, so you can find the perfect texture and color for your space.
- Our Mountain Ledge series is all about that rugged, organic look. With its varied depths and staggered edges, it creates incredible shadow lines that are perfect for a dramatic fireplace or a rustic exterior.
- For a more polished vibe, our Modern Cut panels deliver clean lines and a uniform profile. This is the go-to for contemporary spaces, adding sophistication to a kitchen backsplash or a minimalist feature wall.
Nailing Your Measurements
Running out of stone mid-project is a classic rookie mistake. A few minutes of careful measurement now will save you a massive headache later.
First, tackle the flat areas. Multiply the height and width of your wall to get the total square footage, and don't forget to subtract the area of any windows or doors.
Next, measure the outside corners. Just measure the total height from top to bottom to get the linear feet you need. Our Flomary corner pieces are designed to wrap around perfectly, giving you that authentic, solid-stone look.
Here’s the most important tip: always order an extra 10% of both your flat and corner pieces. This buffer is your safety net for cuts, minor mistakes, or any accidental breakage.
Once your measurements are locked in, you’re ready. Getting all your premium Flomary products on-site at once means you're truly ready to build something spectacular.
Preparing Your Surface for a Flawless Bond
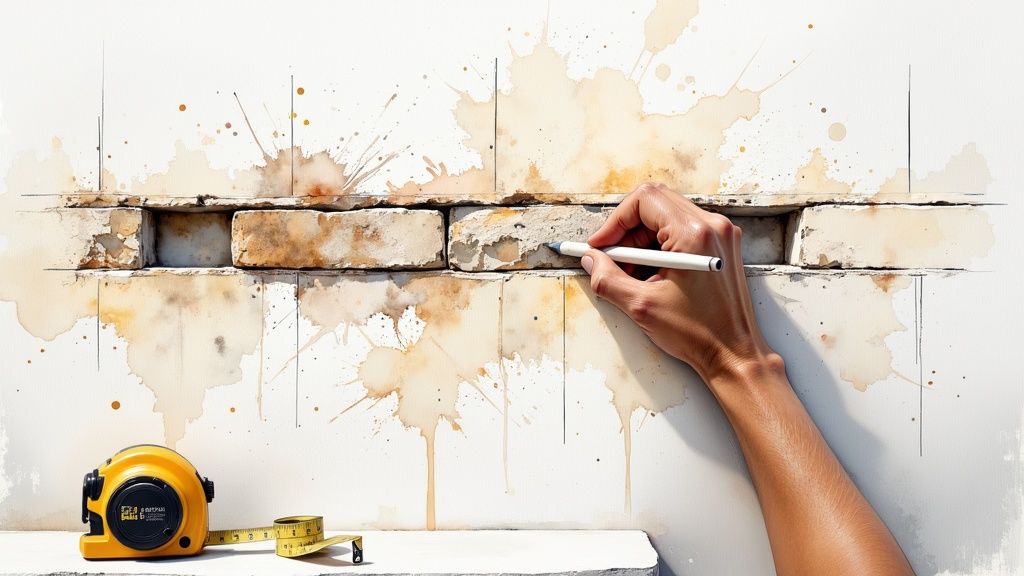
Let's talk about what really makes or breaks a stone veneer project: the prep work. You can have the most beautiful stone in the world, but if the wall behind it isn't ready, you're setting yourself up for failure. This isn't the glamorous part, I get it, but getting the foundation right is the only way to ensure your new stone wall looks incredible for years to come.
Think of it this way: the surface preparation creates the mechanical grip for the entire system. Rushing this step is like building a house on a shaky foundation. It just won’t hold. We need to create a clean, stable, and perfectly textured surface that the adhesive can lock onto for a permanent bond.
First, What Are You Working With?
Every wall is different, and you have to know what you're up against before you start. Your starting point dictates the entire prep process, so take a minute to identify the surface you’ll be covering.
- Cement Board or Unpainted Masonry: This is the best-case scenario. These surfaces are porous and stable, meaning they’re practically begging for mortar. A good, thorough cleaning is usually all you need.
- Plywood or OSB: You can't apply stone directly to wood. Ever. These surfaces need a full moisture barrier system, which means a weather-resistant barrier (WRB) and metal lath. No shortcuts here.
- Drywall/Gypsum Board: This is for interior projects only. While you can install some lightweight veneers directly, I always recommend installing metal lath over the drywall. It just creates a much stronger, more reliable bond.
- Painted or Sealed Surfaces: Anything with a coat of paint, sealer, or a glossy finish is a bond-breaker. The adhesive has nothing to grip. You’ll have to get that layer off by grinding or sandblasting, or simply cover the whole mess with lath.
The Unbreakable Foundation: Metal Lath and a Scratch Coat
For most projects—especially all exterior walls and any interior work over wood or drywall—metal lath is non-negotiable. This galvanized mesh is basically a steel skeleton for your mortar. It provides a three-dimensional structure for the mortar to grab, locking it firmly to the wall.
When you install it, do it right. Fasten the lath every 6-8 inches into the wall studs using galvanized screws or nails. Make sure to overlap the sheets by at least one inch on the horizontal seams and two inches on the vertical seams. This creates a single, continuous grid across the entire wall.
This lath and scratch coat system is the professional standard for a reason. It mechanically locks the stone to the building's frame, creating a single, solid unit that resists shifting, moisture, and time.
With the lath securely fastened, it’s time for the "scratch coat." You'll apply a solid ½-inch layer of mortar over the lath, using your trowel to really push it into all the openings.
While the mortar is still wet, grab a plasterer's rake or a notched trowel and comb horizontal grooves across the entire surface. These little grooves are a game-changer; they create a rough, high-grip texture for the stone adhesive to bite into. Now for the hard part: walk away. Let that scratch coat cure for at least 48 hours before you even think about setting the first stone. This cure time is absolutely essential for the mortar to reach its full strength.
Critical Moisture Protection for Exteriors
If you're working on an exterior wall, your top priority is managing moisture. Trapped water is the biggest enemy of any siding or veneer, and it can cause serious damage to your home’s structure over time.
Before your metal lath goes up, you have to install two layers of a code-approved weather-resistant barrier (WRB), like high-quality building paper or house wrap. This creates a drainage plane. If any moisture gets behind the stone, it will hit the WRB, run down the wall, and drain out safely through a weep screed at the bottom. This simple system ensures your wall can breathe and stay dry.
Proper surface preparation isn't just a step in the process; it's the heart of a professional-grade installation. By building a clean, solid, and well-protected foundation, you’re guaranteeing a flawless bond that will keep your Flomary stone veneer looking incredible for a lifetime.
Laying and Setting Your Flomary Stone Veneer
Alright, you've done the prep work, and now it's time for the fun part—seeing that beautiful stone wall come together. This is where your craftsmanship really shines. Getting the placement and adhesion just right is what creates that stunning, seamless dry stack look that our Flomary Group stone veneers are famous for.
But hold on. Don't just start grabbing stones and slapping them on the wall. A little bit of planning before you even mix your adhesive is the pro secret to getting a natural, balanced pattern. It’s the best way to avoid ending up with weird gaps or a bunch of similar-looking stones clustered together.
This quick visual breaks down the core idea: start with a solid base, then stagger every row after that for a perfect finish.
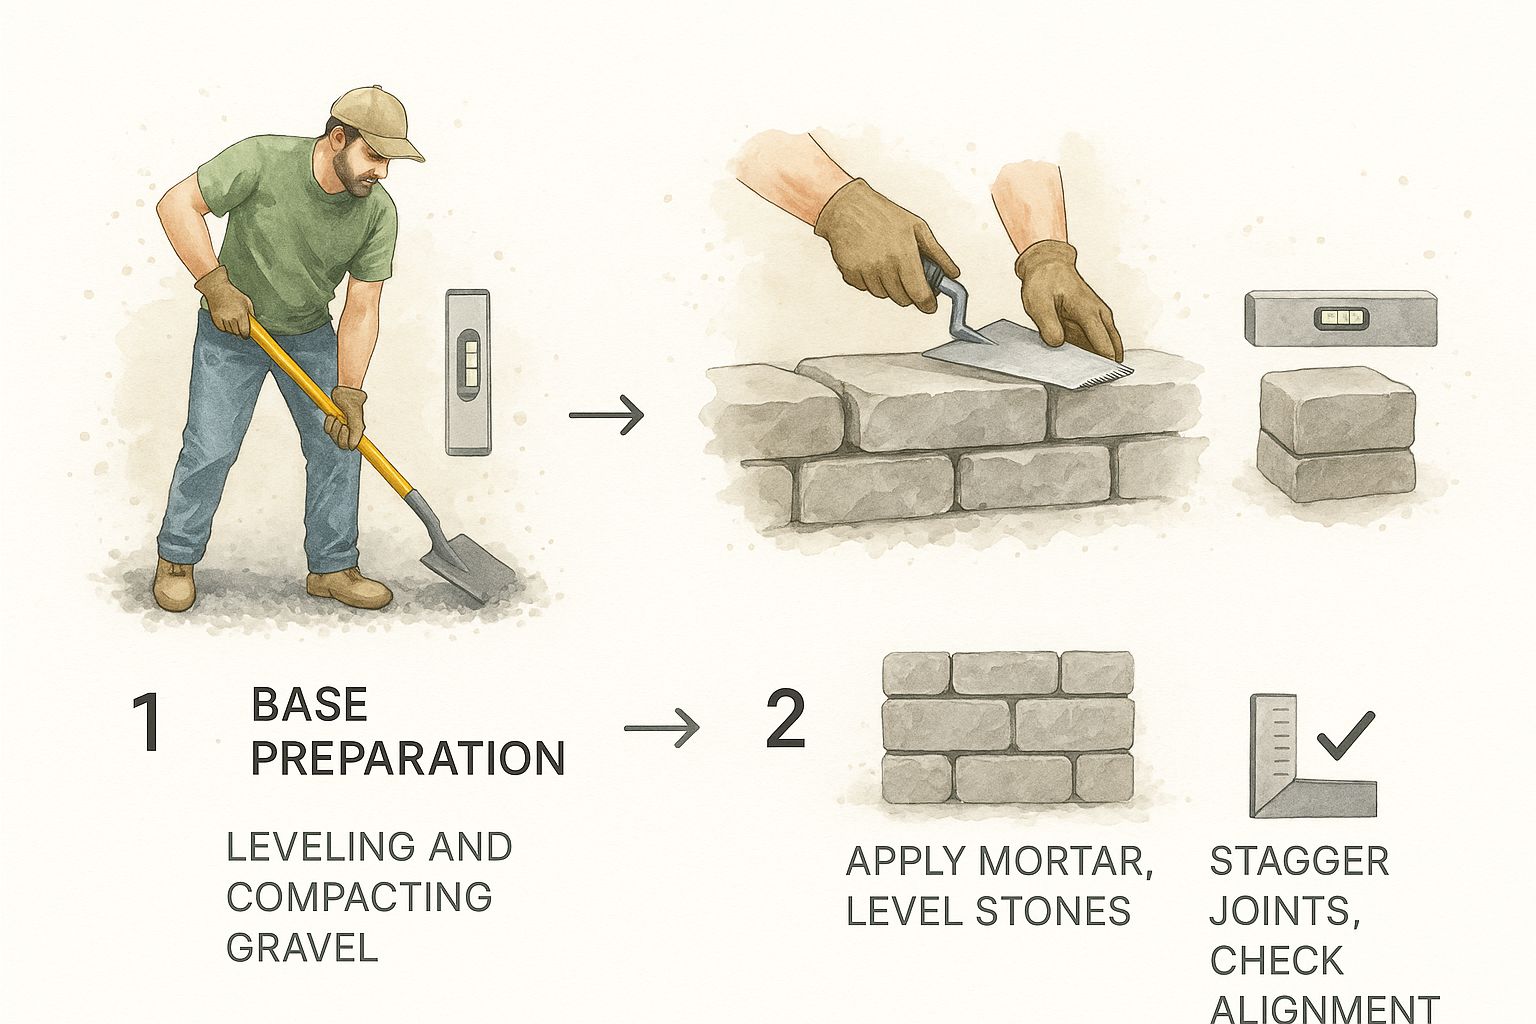
As you can see, it really boils down to two things: a strong foundation and staggered joints. Get those right, and you're well on your way.
Dry-Fit First to Map Out Your Pattern
Before you even think about mortar, lay out about 10-20 square feet of your Flomary stone veneer on the floor or a tarp. Think of this as a dress rehearsal for your wall. It's your chance to be the artist.
Make sure you mix pieces from several different boxes. This is a non-negotiable step. It ensures you blend all the subtle variations in color and texture that make our veneer look so authentic. Without this, you risk a repetitive, artificial look.
As you arrange the stones, keep two goals in mind:
- Stagger those joints. You never want the vertical seams between stones to line up. That’s called a "running joint," and it's a dead giveaway of an amateur job.
- Mix it up. Weave larger stones with smaller ones to create a dynamic look. Try to avoid putting too many stones of the same size or color right next to each other. You're going for a balanced, organic mosaic.
The Art of "Buttering" and Setting Each Stone
Happy with your dry-fit layout? Great. Now you can start the real installation. The secret to a bond that lasts a lifetime is in the "buttering"—that is, applying our recommended Flomary Polymer-Modified Adhesive to the back of each stone.
Using a notched trowel, smear a solid ½ to ¾ inch layer of adhesive over the entire back of the stone. You need 100% coverage, right to the very edges. If you leave empty spots, you're creating weak points that can fail down the road.
Now, press the buttered stone firmly into the wall, giving it a little side-to-side wiggle as you push. This simple motion is key—it collapses the adhesive ridges, creating a powerful suction that forces out air pockets and locks the stone in place. A little bit of adhesive oozing out around the edges is a good thing; it means you've got a perfect bond.
A rookie mistake I see all the time is "spot-applying" the adhesive in a few dabs. Don't do it. This creates a weak bond that's doomed to fail. Full coverage is the only way to guarantee your wall can handle temperature shifts and vibrations for years to come.
Keep It Level and Keep It Tight
Always start at the bottom and work your way up. That first row is everything; it’s the foundation for the entire wall. Use a long level to make absolutely sure it’s perfectly straight.
As you build up, keep checking that you're staying level every few feet. You can use small shims or even little pebbles to make tiny adjustments and keep those horizontal lines true. The whole point of a dry stack look is the tight fit, so nestle the stones together like puzzle pieces, aiming for the smallest gaps possible.
Making Precision Cuts for a Professional Fit
You're inevitably going to have to cut stones. It’s just part of the job, whether you’re fitting around an outlet, a window, or finishing a row at the end of a wall. This is where an angle grinder with a diamond blade becomes your best friend.
Always measure twice, cut once. It's an old saying for a reason. Mark your cut line clearly with a pencil and use a steady hand to make a clean cut. If you're new to this or have to make some tricky cuts, we've put together a full guide to help. You can check out our guide on the best way to cut stone veneer for detailed tips that will have you cutting like a pro.
After you make a cut, just give the stone a quick scrub with a wire brush to get rid of any dust before you apply the adhesive. By taking your time with these techniques, you're not just building a wall—you're creating a feature that looks incredible and is truly built to last.
Applying the Finishing Touches for a Pro Look
You’ve done the heavy lifting—the prep work is done, and the stones are on the wall. Now comes the part that separates a good-looking job from a truly professional one. These final details might seem small, but they make all the difference in achieving that flawless, authentic dry stack appearance and protecting your work for years to come.
This last phase is all about refinement. It’s where you clean up the little imperfections, lock in the look, and ensure your new feature wall can handle whatever life throws at it. Taking your time here is what guarantees the stunning result you were hoping for.
Discreetly Handling Minor Gaps
Let's be realistic: no matter how meticulously you fit each stone, you're going to have some tiny gaps. The goal is a tight-fitting wall, not a perfectly airtight one. The trick is knowing how to fill these little voids without making it obvious and ruining the mortar-free look you’ve worked so hard to create.
A grout bag is your secret weapon here. Fill it with a bit of the same polymer-modified adhesive you used to set the stones, or grab a mortar that’s color-matched. The key is to be surgical with your application.
- Carefully squeeze the filler only into the gap itself. You want to avoid getting any on the face of the stone.
- Grab a small tuckpointing tool and gently press the filler back so it sits just behind the stone face.
This little trick makes the filler vanish into the natural shadow lines of the wall. Your eye is drawn to the texture of the stone, not the filled joints, preserving that authentic dry stack depth.
Sealing Your Stone for Lasting Beauty
After your adhesive has had time to cure completely (give it at least 72 hours), it’s time to seal the stone. This step is non-negotiable for exterior projects or any interior wall that might get splashed, like a kitchen backsplash or bathroom feature. Sealing is your first line of defense against moisture, dirt, and stains.
But not all sealers are the same. A cheap, film-forming sealer from a big-box store can leave an awful plastic-like sheen, completely destroying the natural beauty of the stone. Worse, it can trap moisture inside the wall, which can cause serious problems down the line.
This is exactly why we developed our own Flomary Matte-Finish Masonry Sealer. It’s a professional-grade, breathable formula that soaks deep into the stone without changing its color or texture. You get top-tier protection that’s completely invisible.
Our sealer creates a water-repellent barrier but still allows the wall to breathe. This prevents ugly stains and mineral buildup (efflorescence) without giving you that fake, glossy finish. It keeps your stone looking just as rugged and natural as the day you installed it. Applying it is a breeze—just use a simple pump sprayer or a roller for nice, even coverage.
A Simple Plan for Long-Term Care
One of the best things about working with our dry stacking stone veneer is just how easy it is to live with. We designed our products to be incredibly durable and to hold their color, so you won't be spending your weekends on upkeep.
Seriously, this is your entire maintenance plan:
- Annual Inspection: Once a year, just walk the wall and give it a quick once-over. Look for any debris that might have settled between the stones or any signs of impact damage.
- Gentle Cleaning: If it gets a little dusty or dirty, a quick spray with a garden hose is usually all it takes. For a stubborn spot, a soft-bristle brush and some mild, soapy water will do the trick.
- Avoid Harsh Chemicals: This is a big one. Never use acid-based cleaners, power washers, or harsh chemicals. They can eat away at the stone’s surface and strip off the sealer.
That’s really it. Because you started with a quality veneer and protected it with the right breathable sealer, your stunning dry stack wall will look fantastic for decades with almost no effort. You just get to install it and enjoy it.
Your Top Dry Stack Veneer Questions, Answered
Even the best-laid plans can hit a snag, and questions are a natural part of any hands-on project. We get it. Here are some of the most common questions our team at Flomary Group fields about installing dry stack stone veneer, so you can move forward with total confidence.
Think of this as the final piece of the puzzle. Understanding the why behind each technique is what will help you achieve that truly professional-grade finish that looks incredible for years to come.
Can I Install Dry Stack Stone Veneer Directly Over Drywall?
This is easily one of the most frequent questions we get for interior projects. And the short answer is… it depends, but we usually recommend against it for the most reliable, long-lasting result.
Technically, some very lightweight veneers might adhere to clean, unpainted drywall in a bone-dry area. However, for an installation that's truly built to last, you'll want to take an extra step. We always suggest adding a layer of cement board first. At the very least, you should secure metal lath over the drywall and apply a solid scratch coat. This gives the adhesive a much stronger, more stable surface to grab onto, ensuring your beautiful stone wall stays put.
Do I Really Need to Use the Corner Pieces?
Yes. Absolutely, 100% yes. This is one of those details that instantly separates a professional-looking job from an amateur one.
Our Flomary corner pieces are specifically designed to create a seamless, authentic transition that looks just like solid, full-bed stone construction. If you try to miter the flat pieces or just butt them up against each other, the illusion is immediately shattered. It will look unnatural and scream "veneer." Using the matching corners maintains the look of a solid stone wall from every single angle, elevating the entire project.
Using dedicated corner pieces is non-negotiable for a high-end result. It's a small detail that makes a massive impact on the finished product's authenticity and visual appeal.
What If I End Up With a Small Gap Between Stones?
Don't panic! No matter how meticulous you are, small, inconsistent gaps are just part of the process when working with dry stack stone veneer. You're aiming for a super-tight fit, but achieving a perfect, airtight seal across the whole wall isn't the goal—or even realistic. In fact, these minor imperfections are what give the wall its natural, hand-laid character.
If you find a few gaps that are just a little too noticeable for your liking, the fix is easy. Grab a grout bag and carefully apply a small amount of our Flomary Polymer-Modified Adhesive or a color-matched mortar. The trick is to tool the filler so it sits just behind the face of the stone. This tucks it into the natural shadow lines, preserving that authentic dry stack look.
Is Sealing the Stone Necessary for an Interior Project?
For a standard accent wall in a living room or bedroom, sealing isn't strictly required. However, we highly recommend it for any application that might get exposed to moisture, splashes, or potential stains. Think kitchen backsplashes, bathroom feature walls, or even the area around a fireplace. In those cases, sealing is a must.
Your best bet is a high-quality, breathable sealer like our Flomary Matte-Finish Masonry Sealer. It creates a tough barrier against dirt and stains, which makes cleaning a breeze. Most importantly, it does its job without adding any artificial shine, so you get to keep the raw, natural texture of the stone you fell in love with.
Ready to bring the stunning, authentic look of dry stack stone into your space? The experts at Flomary Group are here to help you find the perfect lightweight, easy-to-install veneer for your project. Explore our collections and see what's possible at Flomary.
